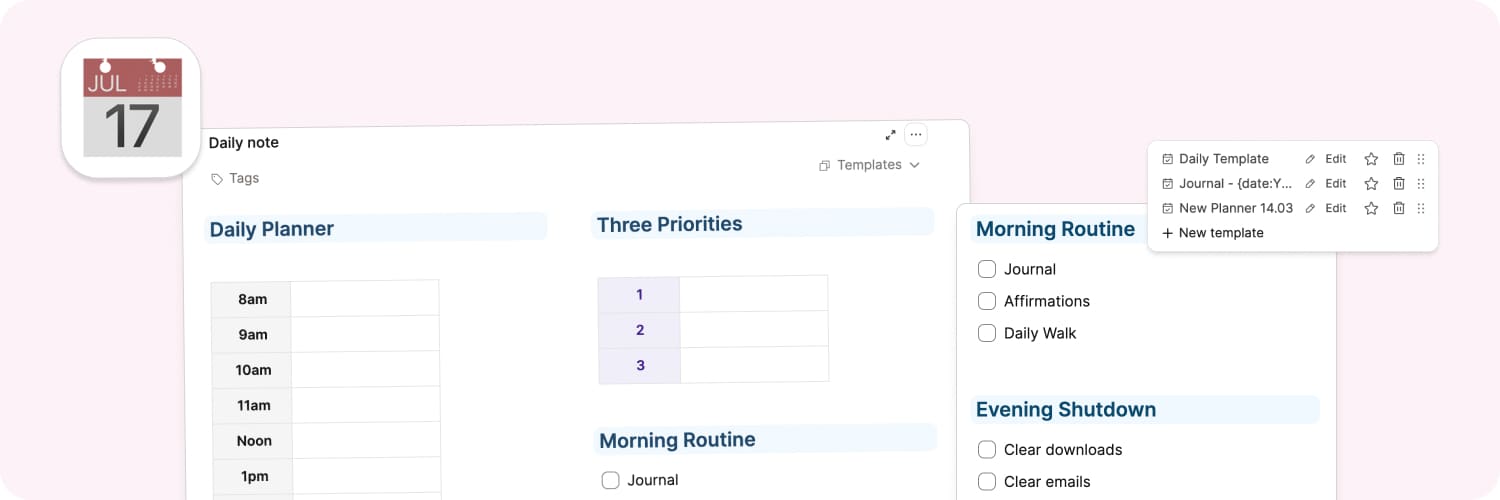
Customize Your Daily Note Template
Time is a central pillar of Capacities, and one of the ways this is built into the app is through the central calendar.
This calendar has a daily note section, which can be a great place to plan your day. You can revisit it throughout the day to check in to ensure you’re on task and progressing on what you need to do.
In this video, we show you one way to build a daily note template, using tables, to do blocks and headings to help structure your planning.
Feel free to watch the video here. Or if you’d prefer a written version, just keep reading!
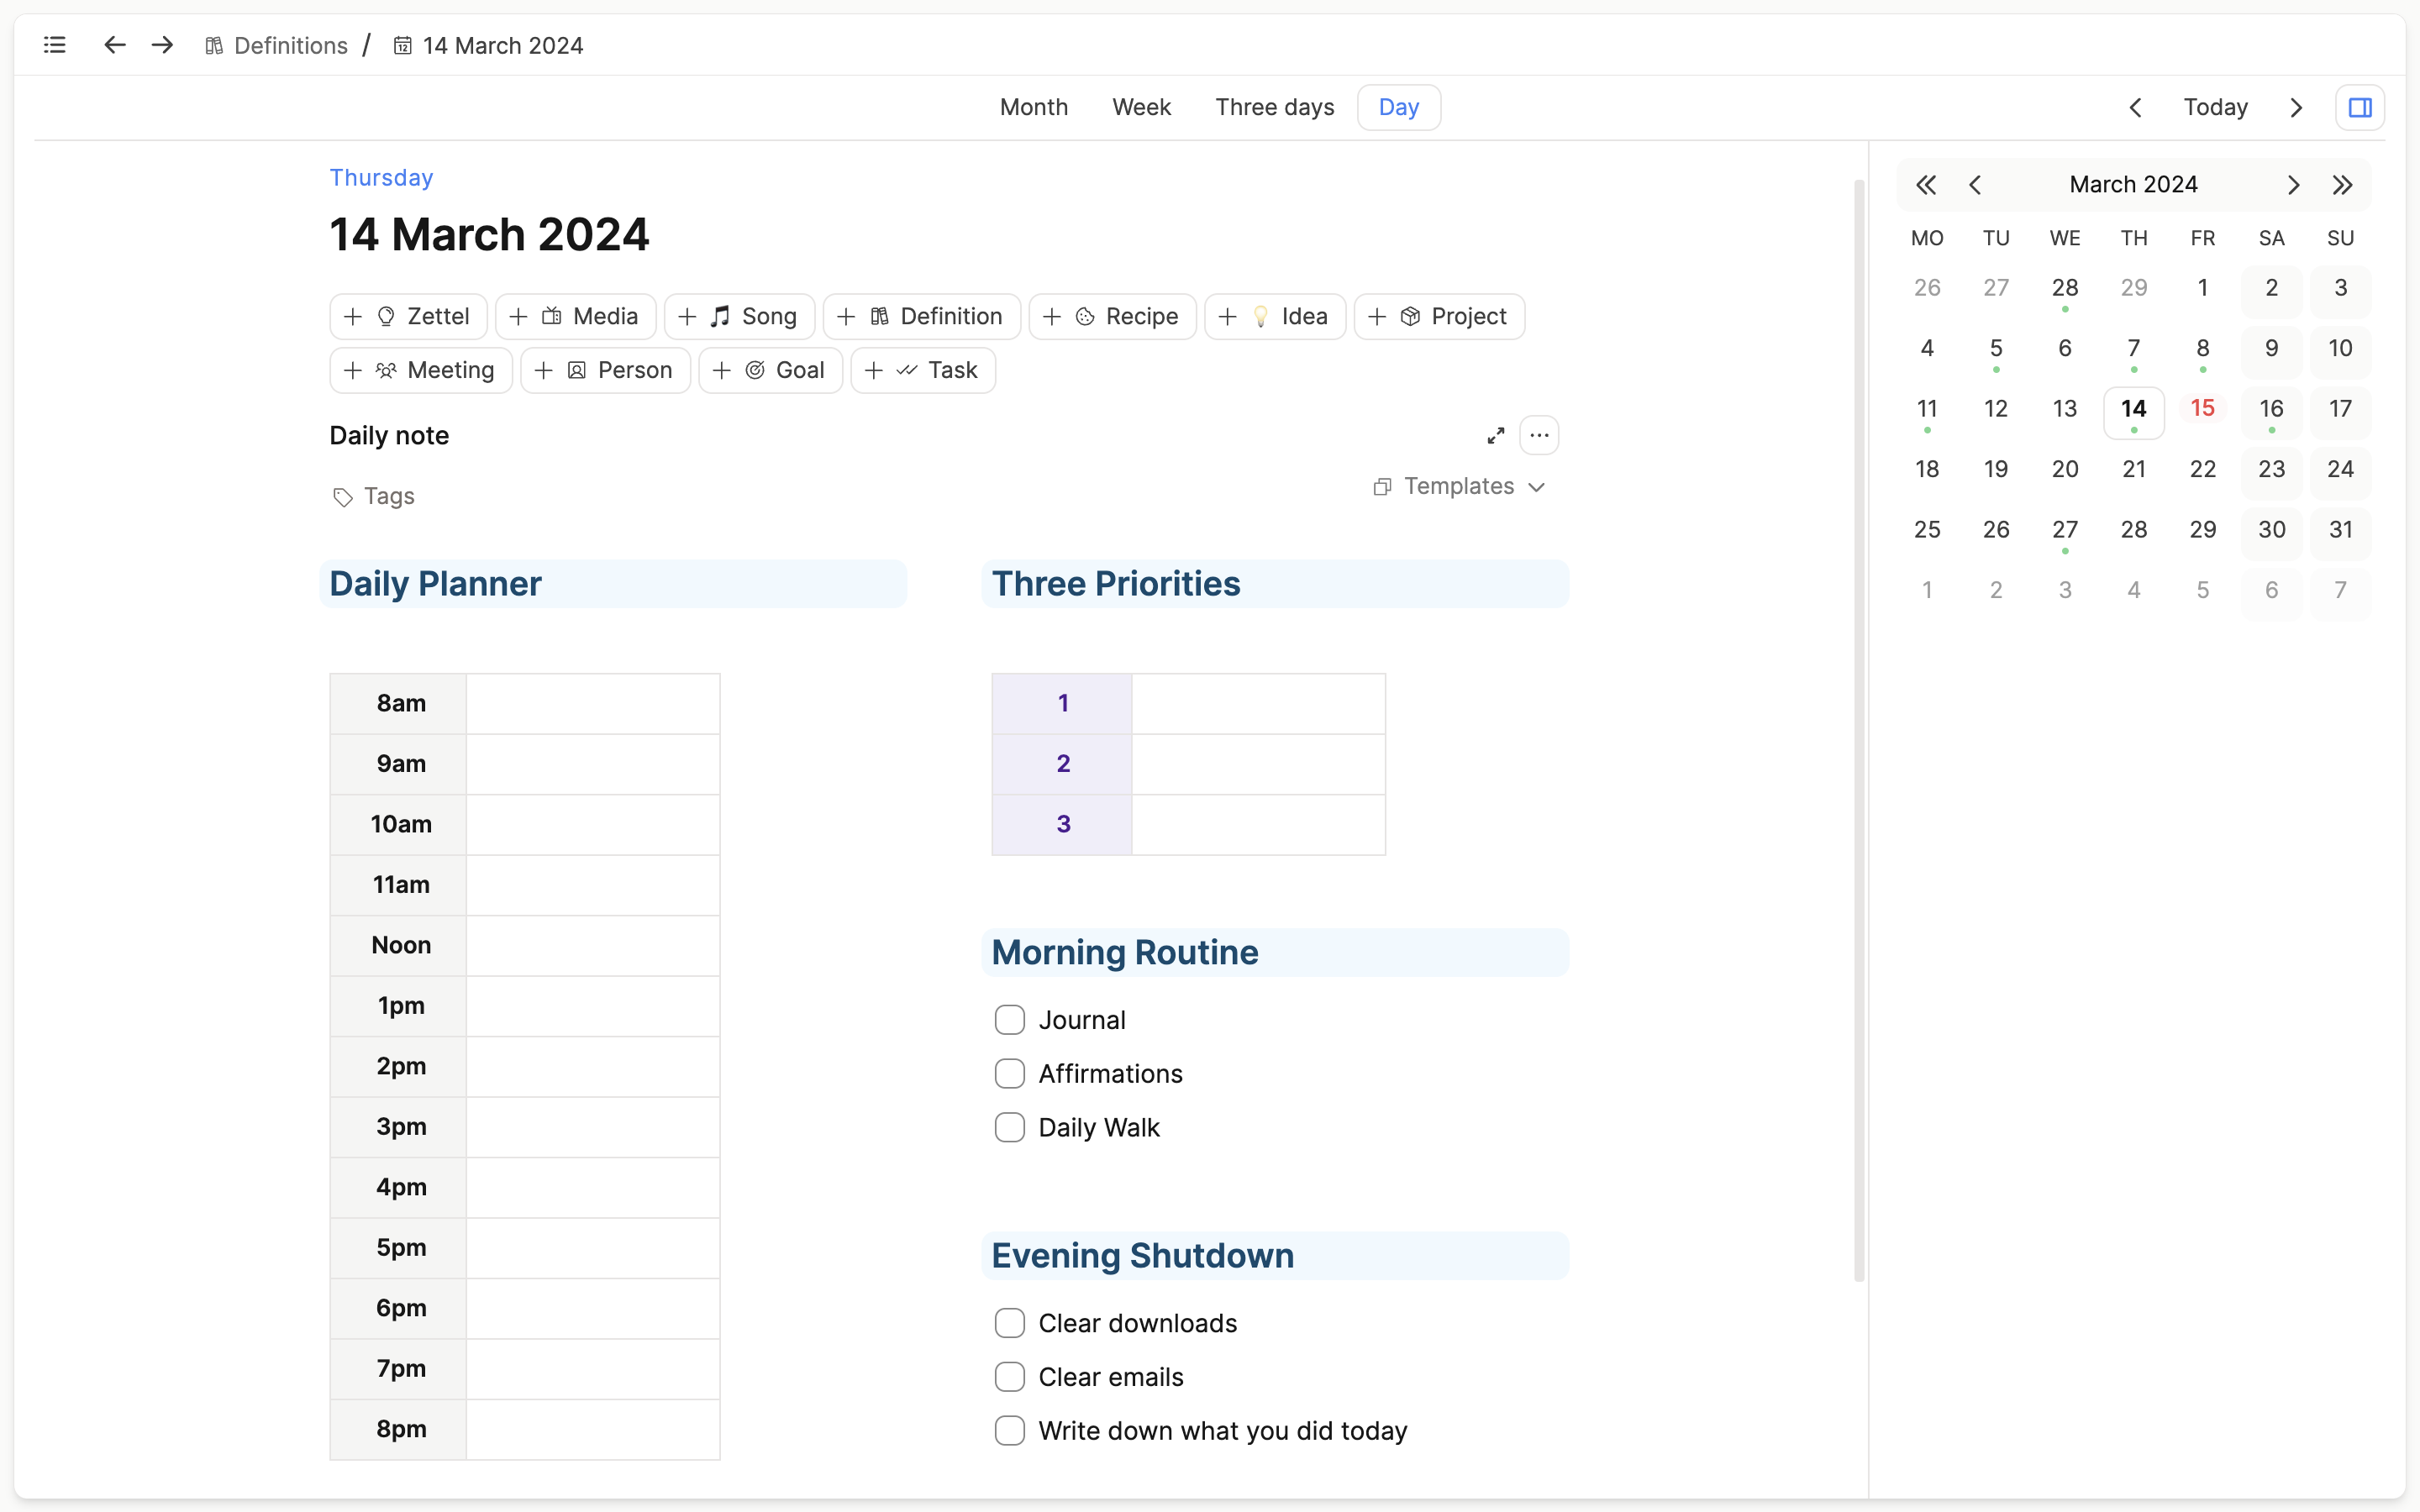
What we are creating
This is what we are going to create:
Adding and formatting tables
We will begin with the tables, which are the core structural part to this daily note.
Let’s do the daily planner table first.
To add a table block, you can type /table + enter. Then you can resize it to suit the dimensions you need by clicking and dragging the + button. Here we’re using 2 x 13. Then fill in the times you need.
If you want to create a header column with centred text, click ‘options’ and choose ‘header column’. This will apply formatting to the left-most column.
To align the text, click on the column menu, click ‘format column’ and then click ‘align centre’ in the action panel at the bottom of your window.
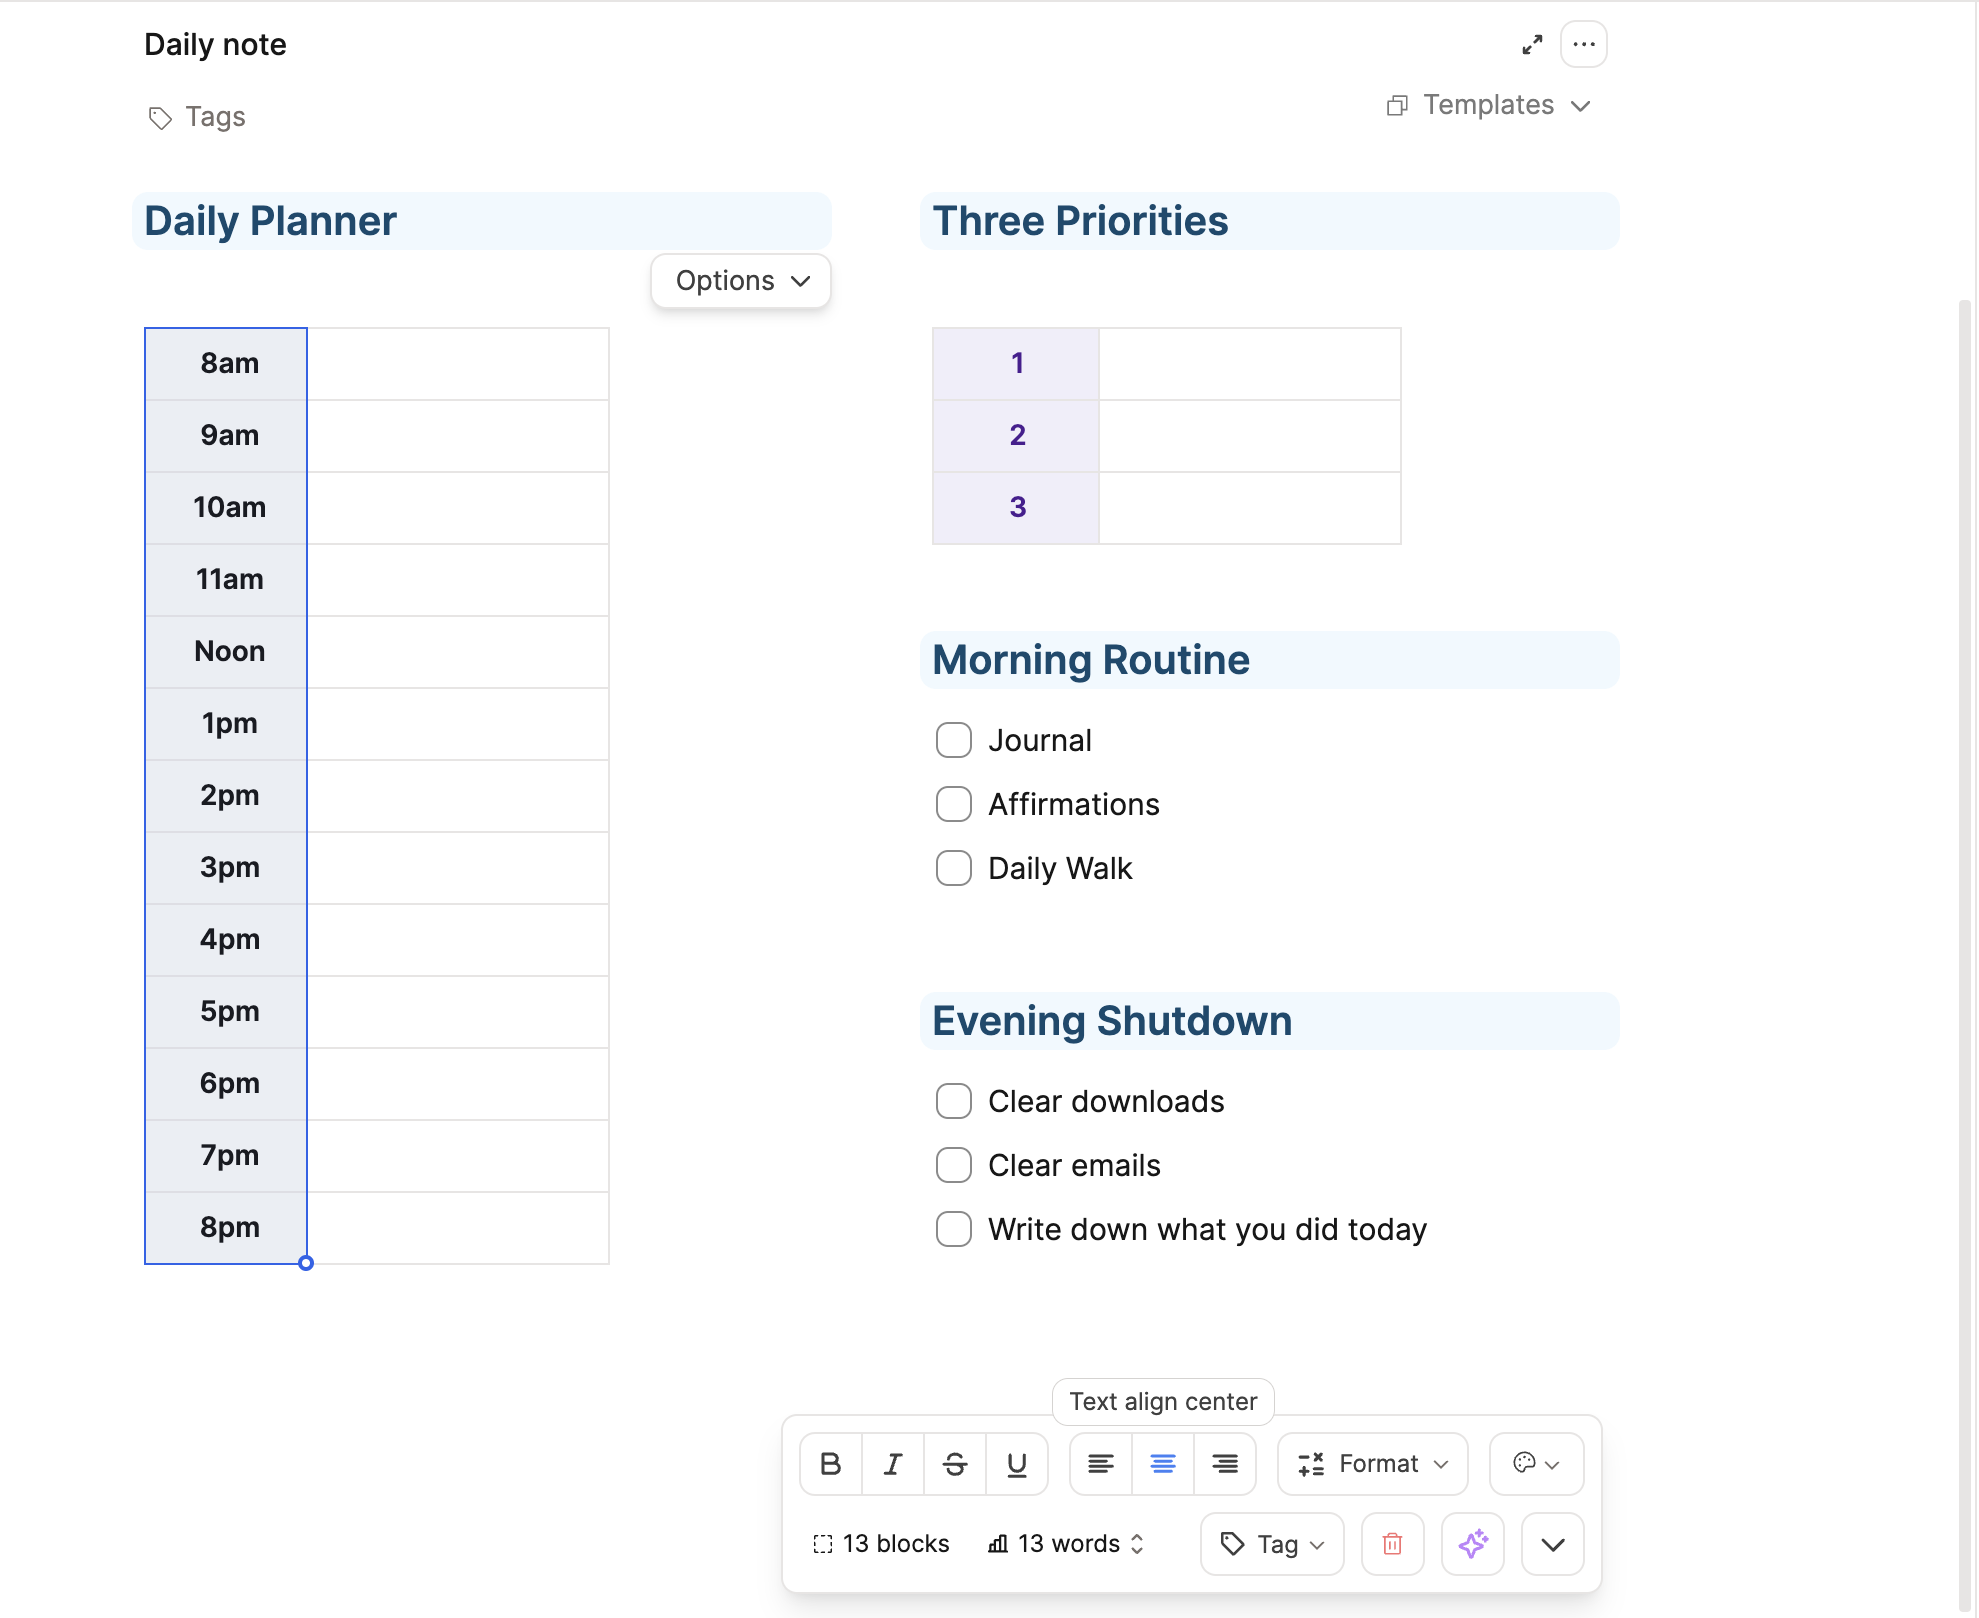
Now your planner is complete. Let’s create the priority table.
Create a new table block again (/table + enter), enter 1-3 in the rows of the first column, and feel free to add styling.
You may want to add another header column and some extra colour. To make the purple background, open the column menu again, click format menu, and choose the style button this time. Choose your preferred color.
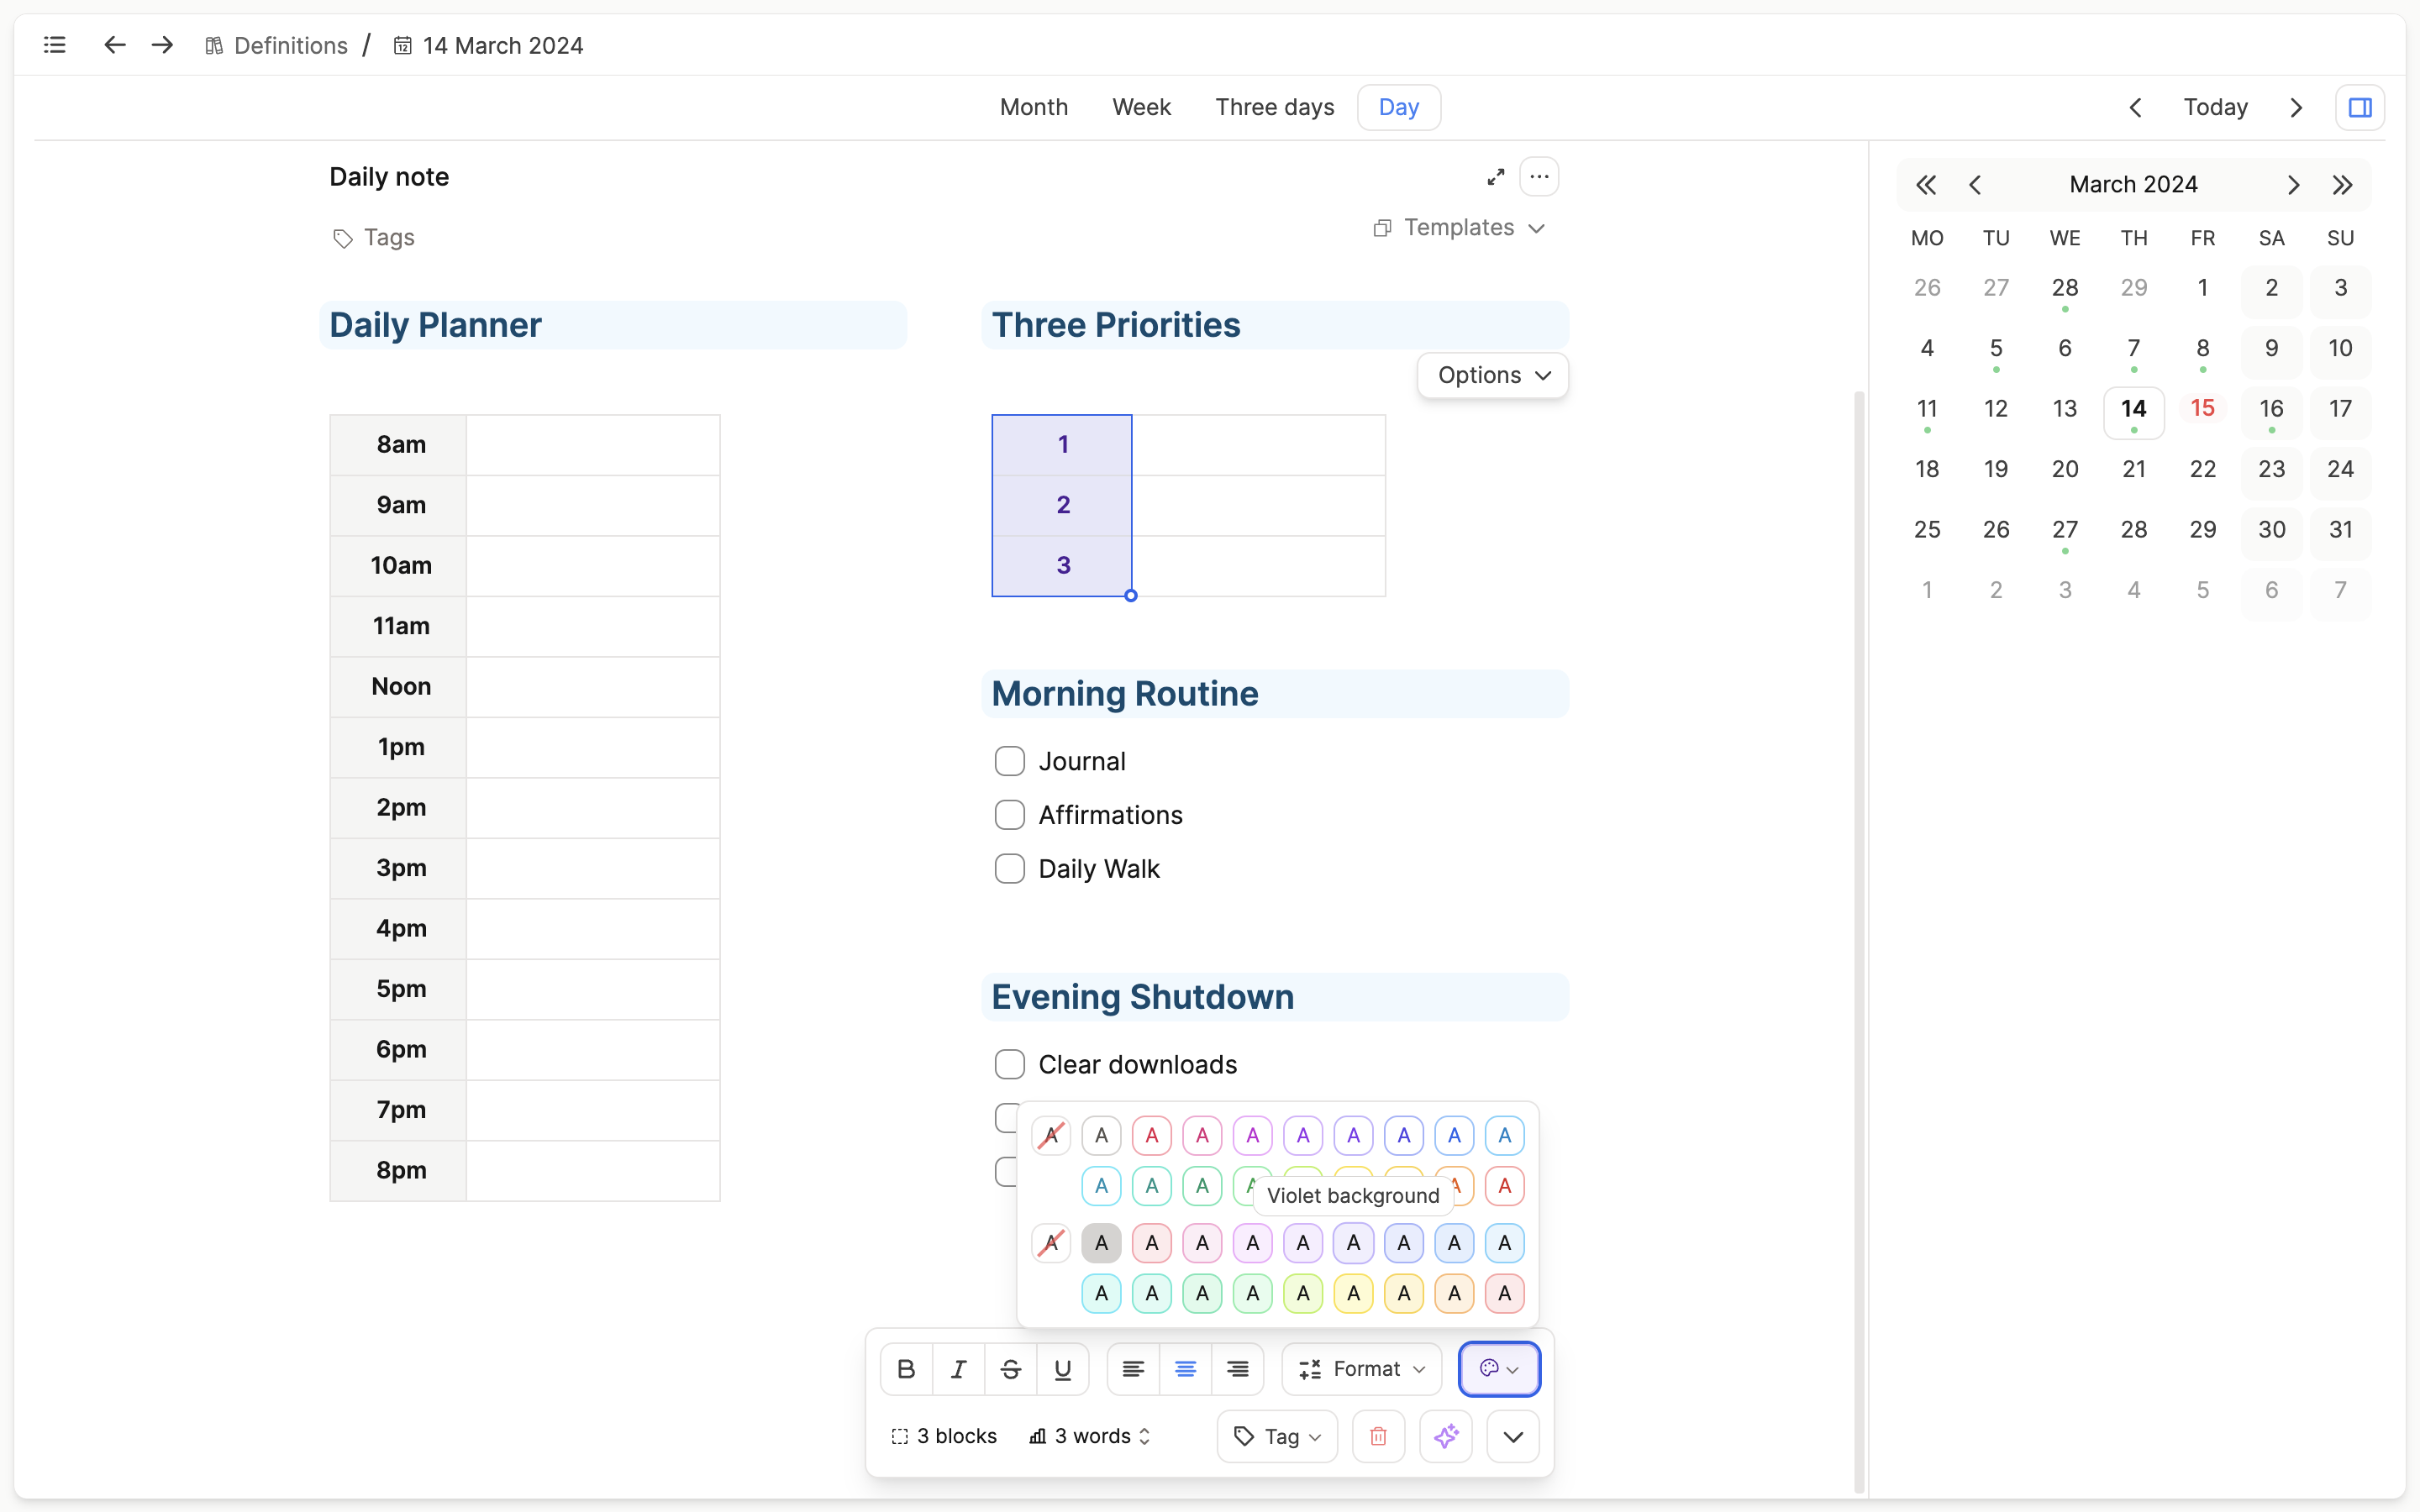
Now you have two tables, styled to your preference!
Creating a two-column layout
To put the tables side by side, find the + on the left of the table block, and shift + click on it. This will create a block above your table. Then type /columns + enter.
Two columns will now be created above your table. Next, drag each table into each column to create your two-column layout.
Adding headings
Next we will add headings to the tables.
Create another block above your tables (shift + click on the + to the left of your tables). Choose your heading size by typing /heading 1 + enter.
::: tip You can also use Markdown syntax with headings. # will create heading 1, ## heading 2 and so on. Capacities supports heading sizes 1-4. :::
The example pictures use heading 3, so was achieved by typing /heading 3 + enter. Repeat this process for every heading you’d like to use.
Styling blocks
If you’d like your styling to look like the example picture, where it is applied to the whole block, click on the block menu (the 6 dots to the left of every block), open up the action panel and choose the color you’d like from the style icon.
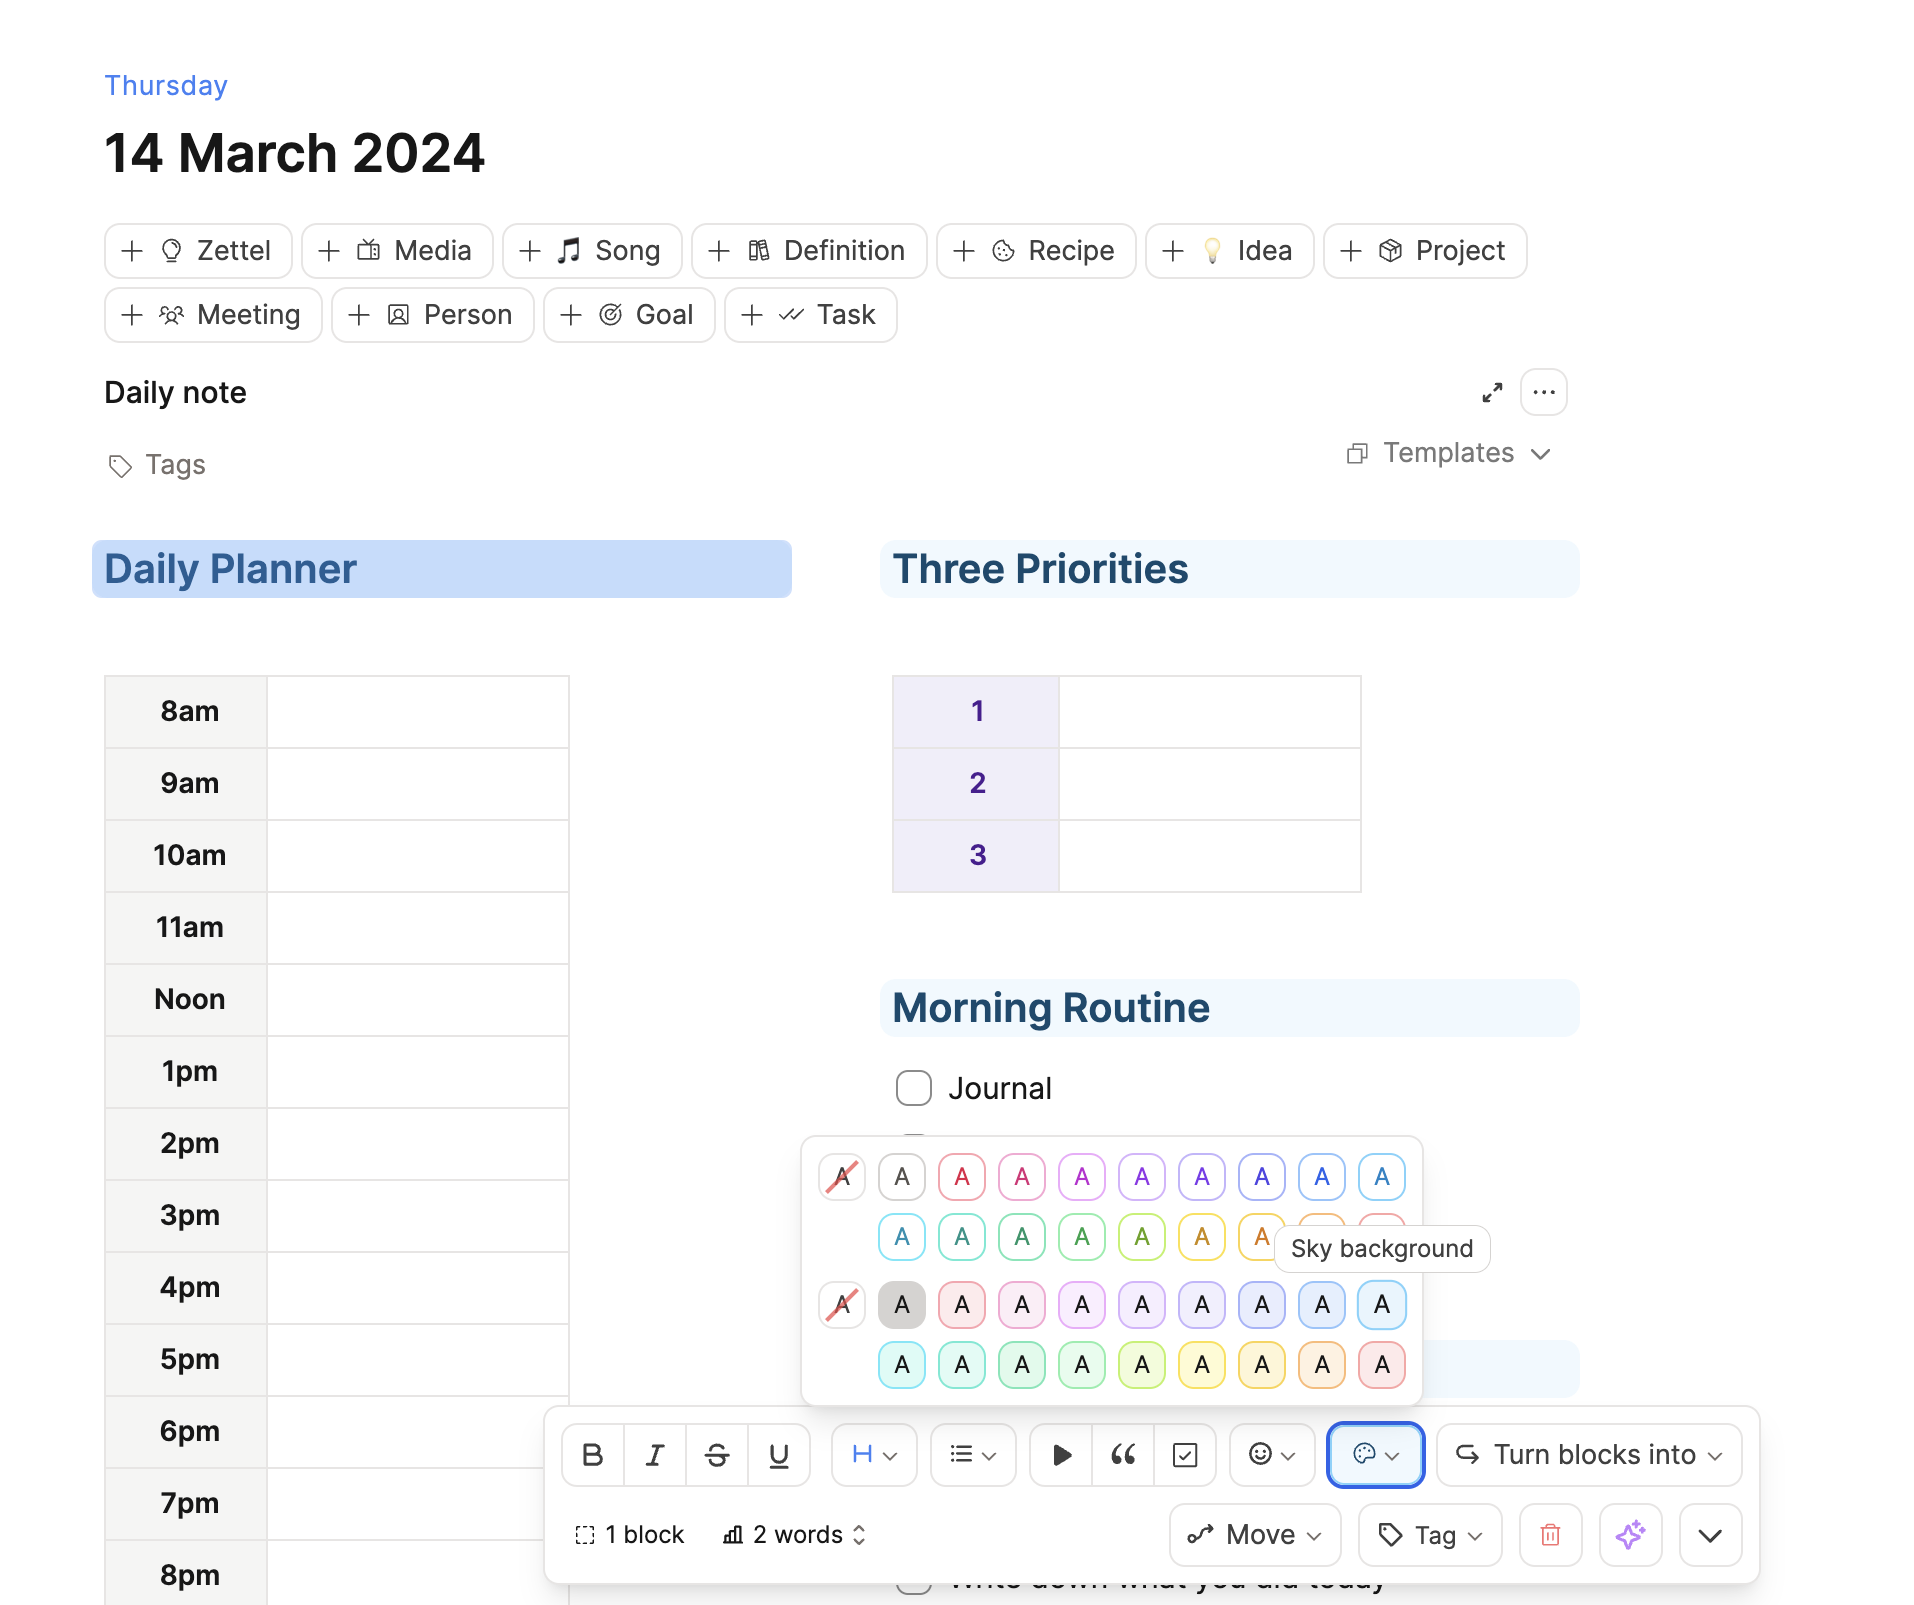
To style just the text color, highlight the text and use the style icon that pops up in the text menu.
To style just the text background, just use the second set of colours in that pops up in the text menu:
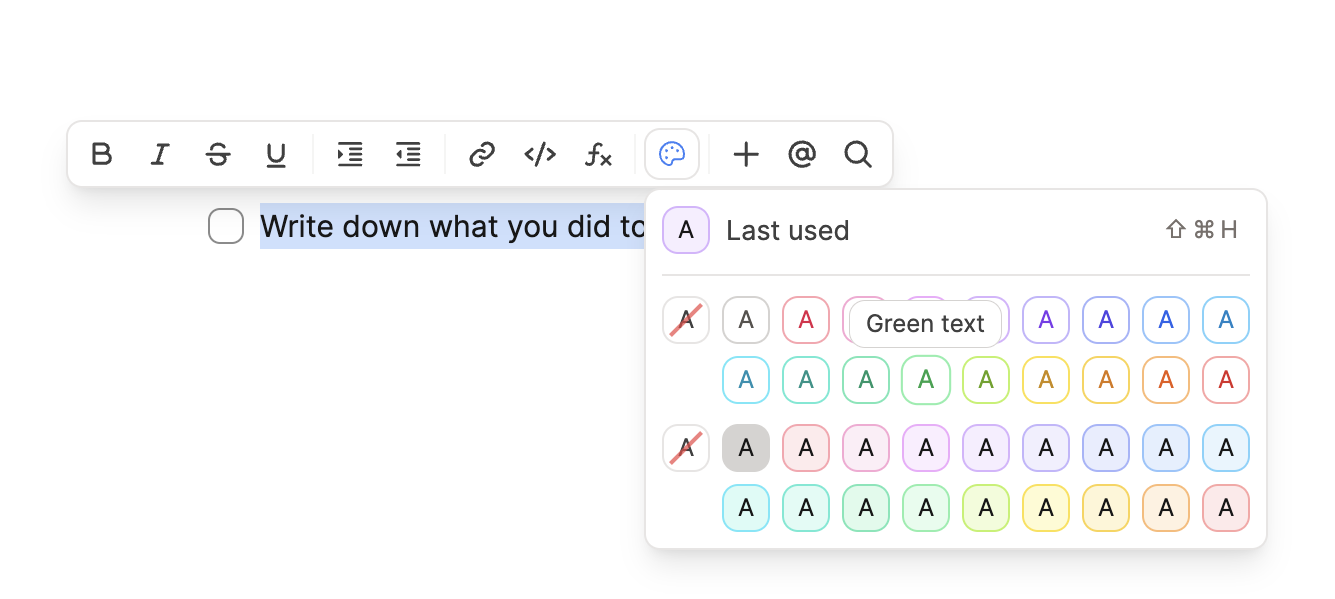
Adding to-do blocks
You may wish to add in some daily tasks, such as your morning and evening routine.
In this example, we created a section beneath the table of priorities for this. We added another heading 3 with a sky background, and then added some to-do blocks beneath it by typing [ ] space.
Once this is configured how you’d like, you’re ready to turn this into a template.
Creating a daily note template
Now all your blocks are ready, select them all by clicking and dragging and copy with Cmd C on Mac or Ctrl C on Windows.
Click the ‘templates’ button in your daily note and click ‘new’. Give your new daily note template a title.
Paste the blocks you’ve copied into that template window. Make sure the layout is correct. Your template is now set up.
To make it the default daily note template, click on the ‘templates’ button again in the daily note, and click the star next to your new template.
Now everything is set up!