A Guide to Personal Knowledge Management with Capacities
In this guide, we will show you how to do PKM with Capacities. We'll explain different concepts and show you how to create your workflow in Capacities.
We consume a ton of information every day – but most of it gets lost. In this guide, you will learn how to retain more and boost your productivity in the process.
In the age of digitization and the internet, more and more jobs revolve around special knowledge in ever more diversified domains. Knowledge workers face the challenge of making sense of vast amounts of information as well as new developments and inputs in their field every day. Personal Knowledge Management is one approach to overcome this challenge.
Wikipedia defines it as follows:
Personal knowledge management (PKM) is a process of collecting information that a person uses to gather, classify, store, search, retrieve and share knowledge in their daily activities and the way in which these processes support work activities.
So instead of just consuming information from external sources, information is actively processed and organized to further increase its value and to build lasting and productive knowledge on a personal level.
Capacities is a note-taking tool built for PKM (personal knowledge management). In this guide, we will show you how to do PKM with Capacities. We’ll explain different concepts and show you how to create your workflow in Capacities.
When to use spaces
Spaces are the highest organizational unit of Capacities. In a space you can search, link, and reuse everything that’s inside. This is not possible across spaces. For this reason, you should only create a new space when you want to keep certain areas completely separate. For most users, one single space for everything works just fine.
Understanding object types
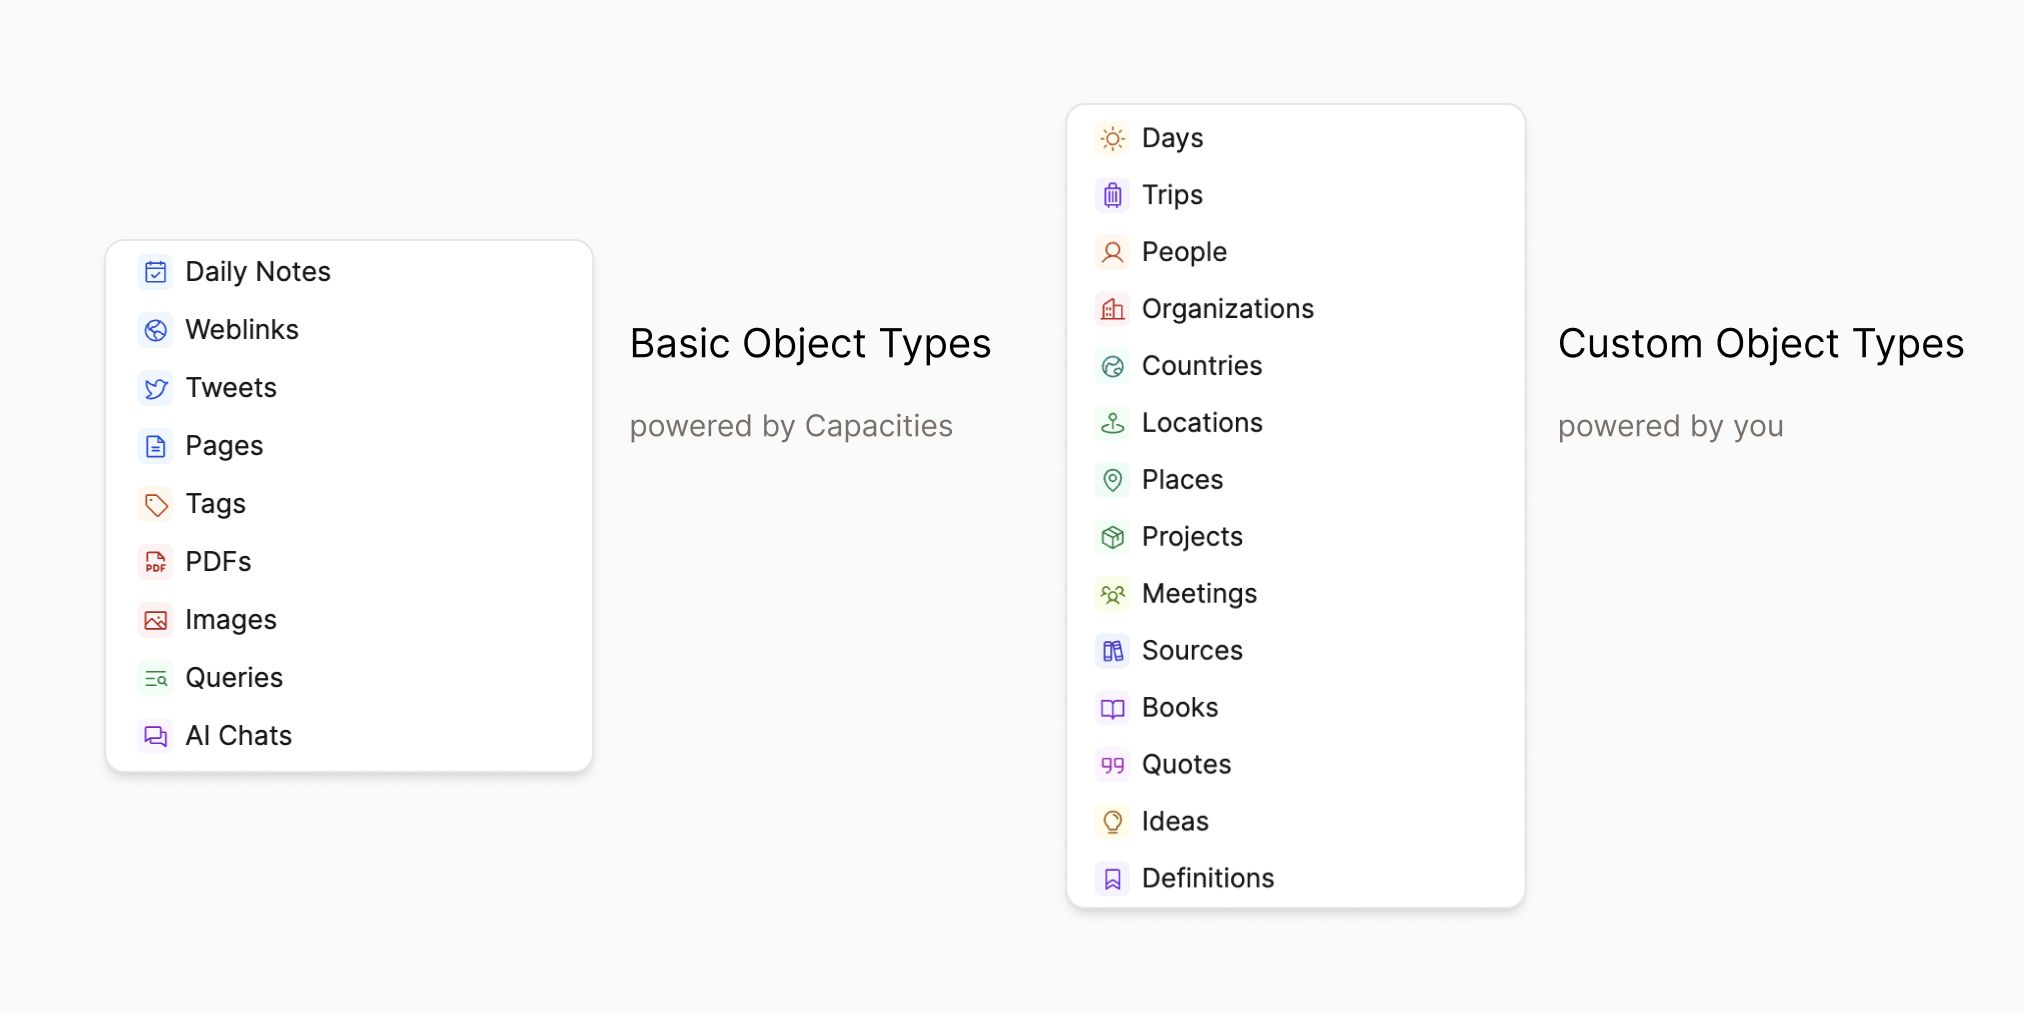
Inside of a space, all of your content is stored in databases, one database for each type of content. This means, for example, there is a database for pages, a database for images, a database for web links, etc. These basic object types are built-in and cover the use-cases for most of our users. But if you have a very specific use-case and need to capture certain properties together with each entry, you can create a custom object type. If you’re interested you can read more about this here. (One example would be your very own Zettelkasten, where you define a Permanent Note and a Literature Note as custom object types.)
When to use which object type?
An important question is when to use which type of content. To answer this question we are going to go through the basic object types and explore what they are for.
Daily notes
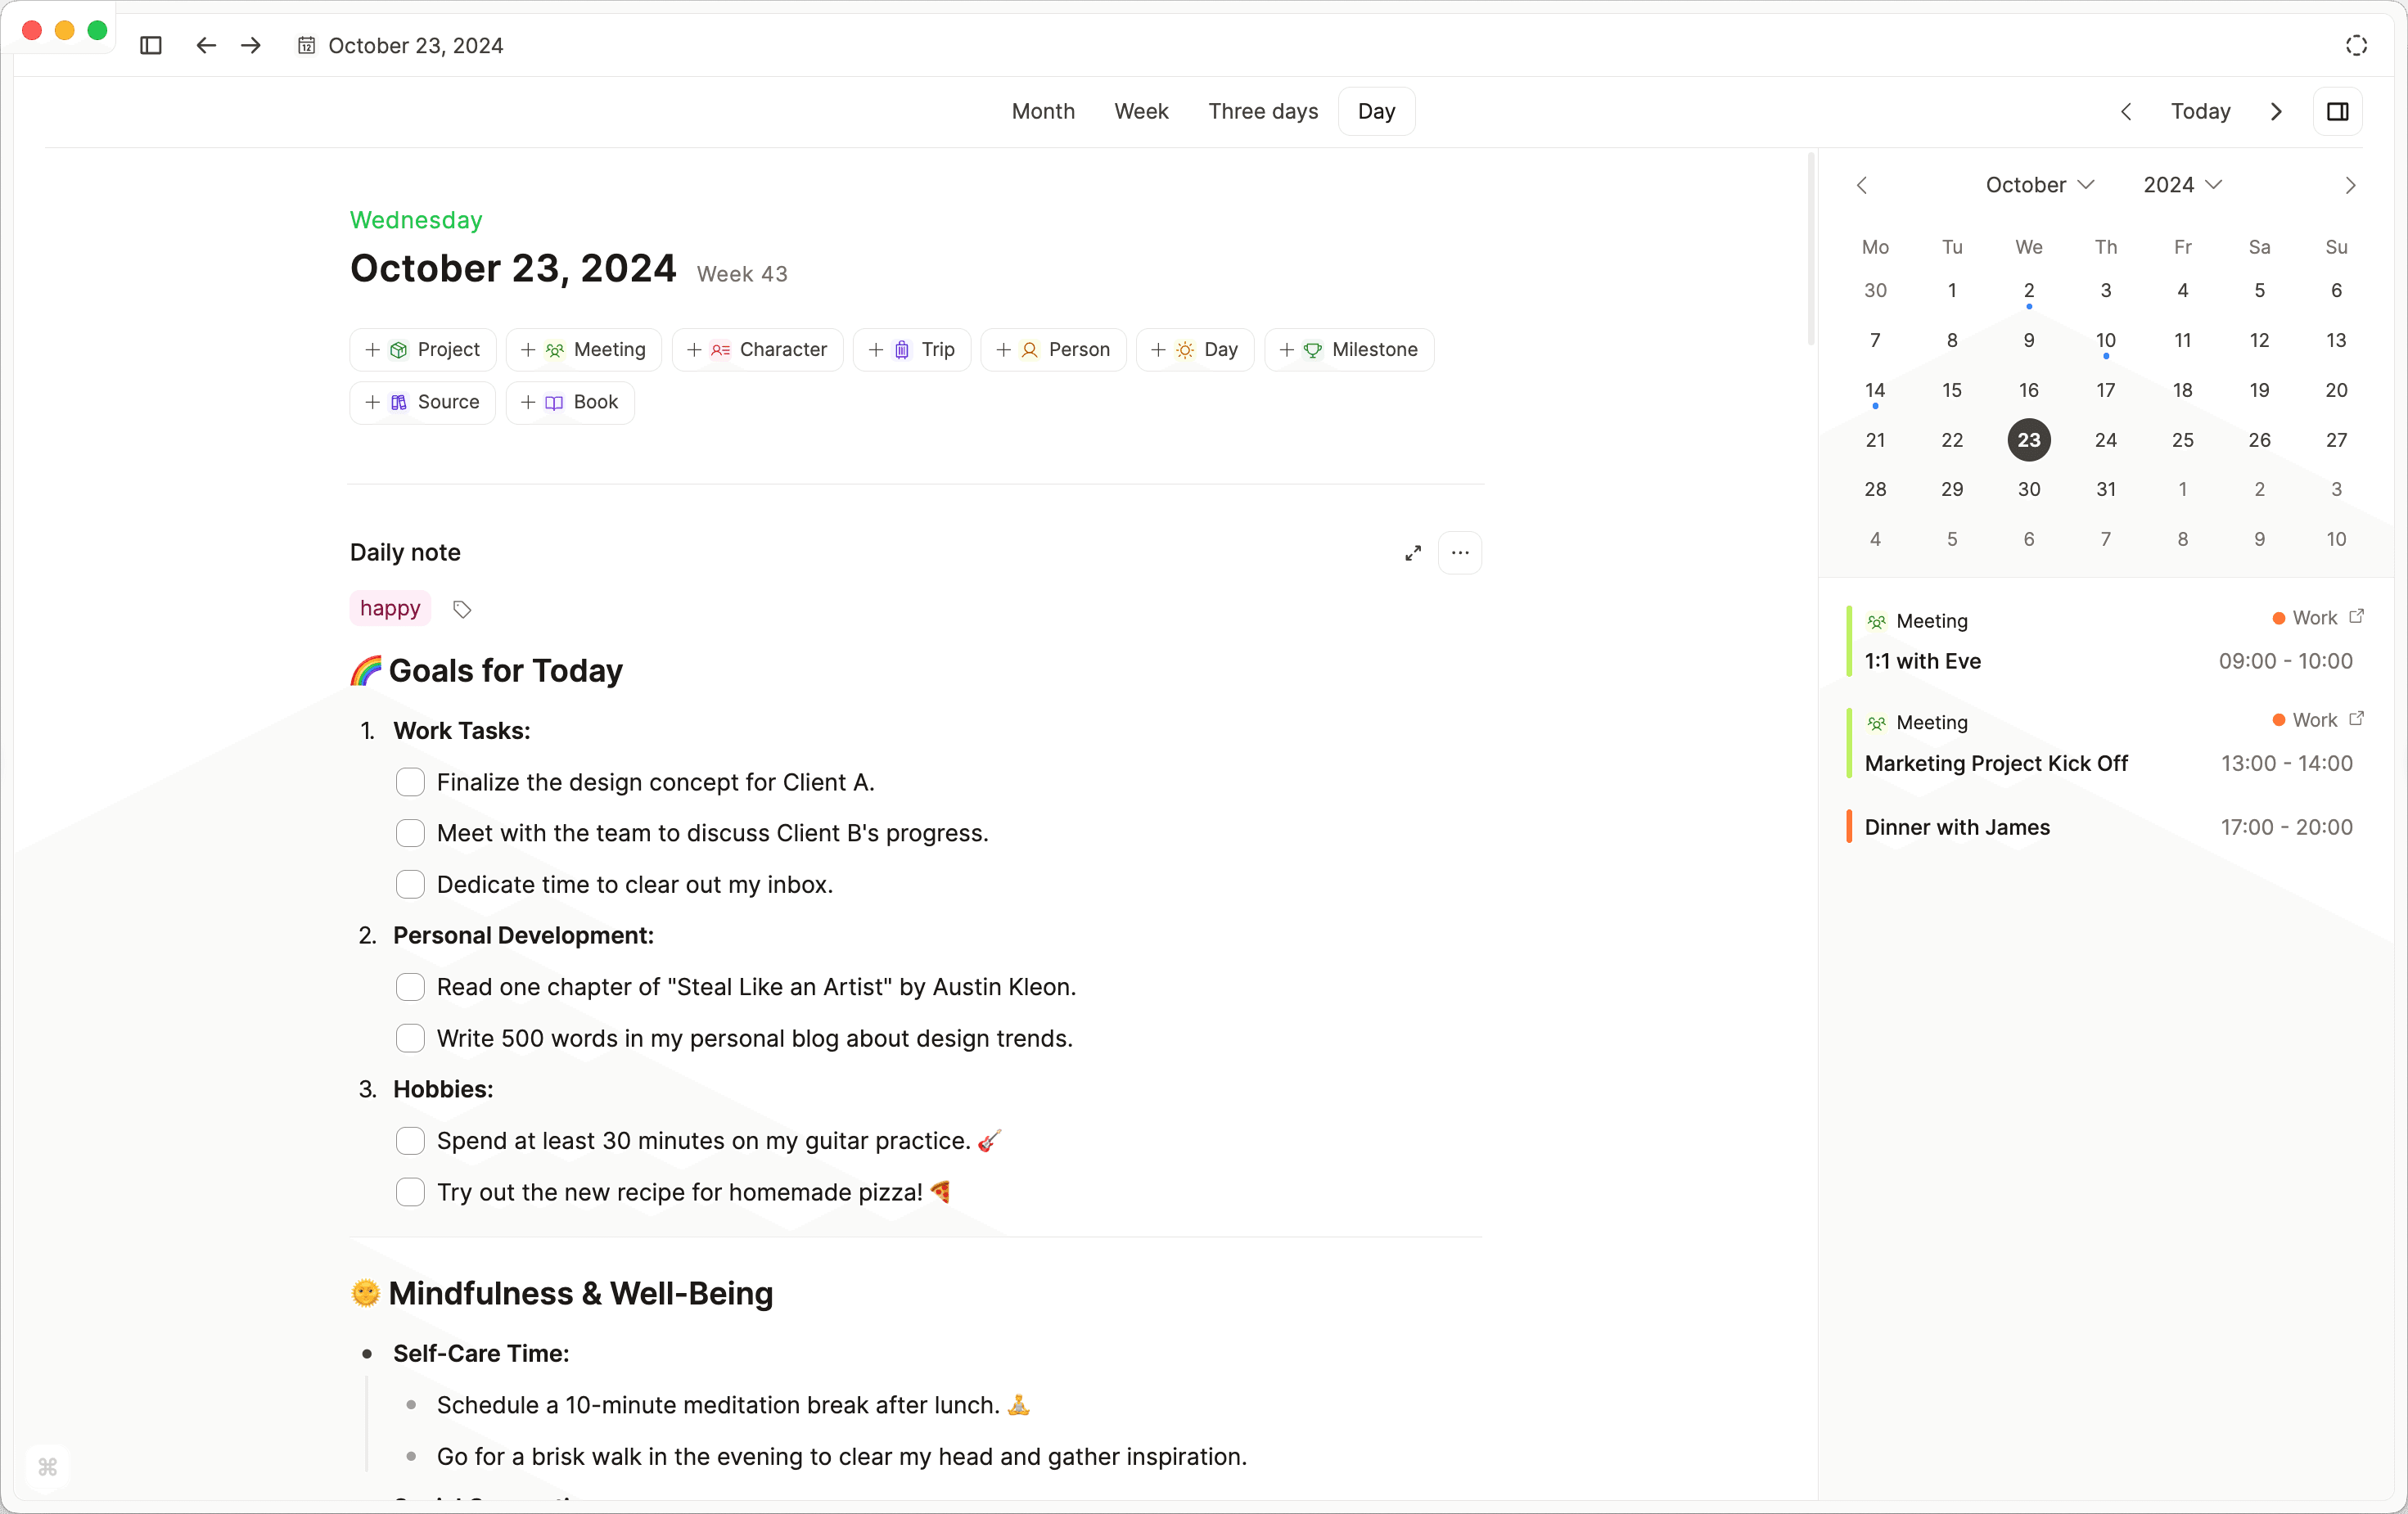
First, let’s start with a special type of content: the daily note. Many people think in a chronological way and want to organize their day with a dedicated note, without having to think about where to store it. And that’s exactly what the daily note is made for. But there’s more.
- To-dos: Using the to-do block you can quickly create to-do lists for that day. If you like to plan ahead, you could also create a list of to-dos for the next day by navigating to “tomorrow” and adding a daily note there. If you have hierarchical tasks, simply indent subordinate tasks below the main task using “tab”. You can also combine the to-do with a toggle to expand and collapse sub-tasks.
- Journaling: You can use the daily note to document your day or even write a journal at the end of the day.
- Go-to-place for new content: It’s also useful to use the daily note as the main place to add new content. Just paste images or links you want to save for later into your daily note. This removes the friction in your head of having to think about where to store something. Instead, just go to the daily note and paste it there. Any detected media (images, weblinks) will be automatically added to their databases in the background. Just make sure to add some tags, to make them valuable for your future self (more on this later). With text content you have to think more carefully: If it really belongs to that daily note (e. g. if it’s a lesson or experience from that day), just leave it in your daily note. But if it’s relevant on its own, create a new page and put it there, again, try to add tags to find it more easily later on. One quick way to create a new page from a block or a selection of blocks is the use the dedicated “Turn into”-feature.
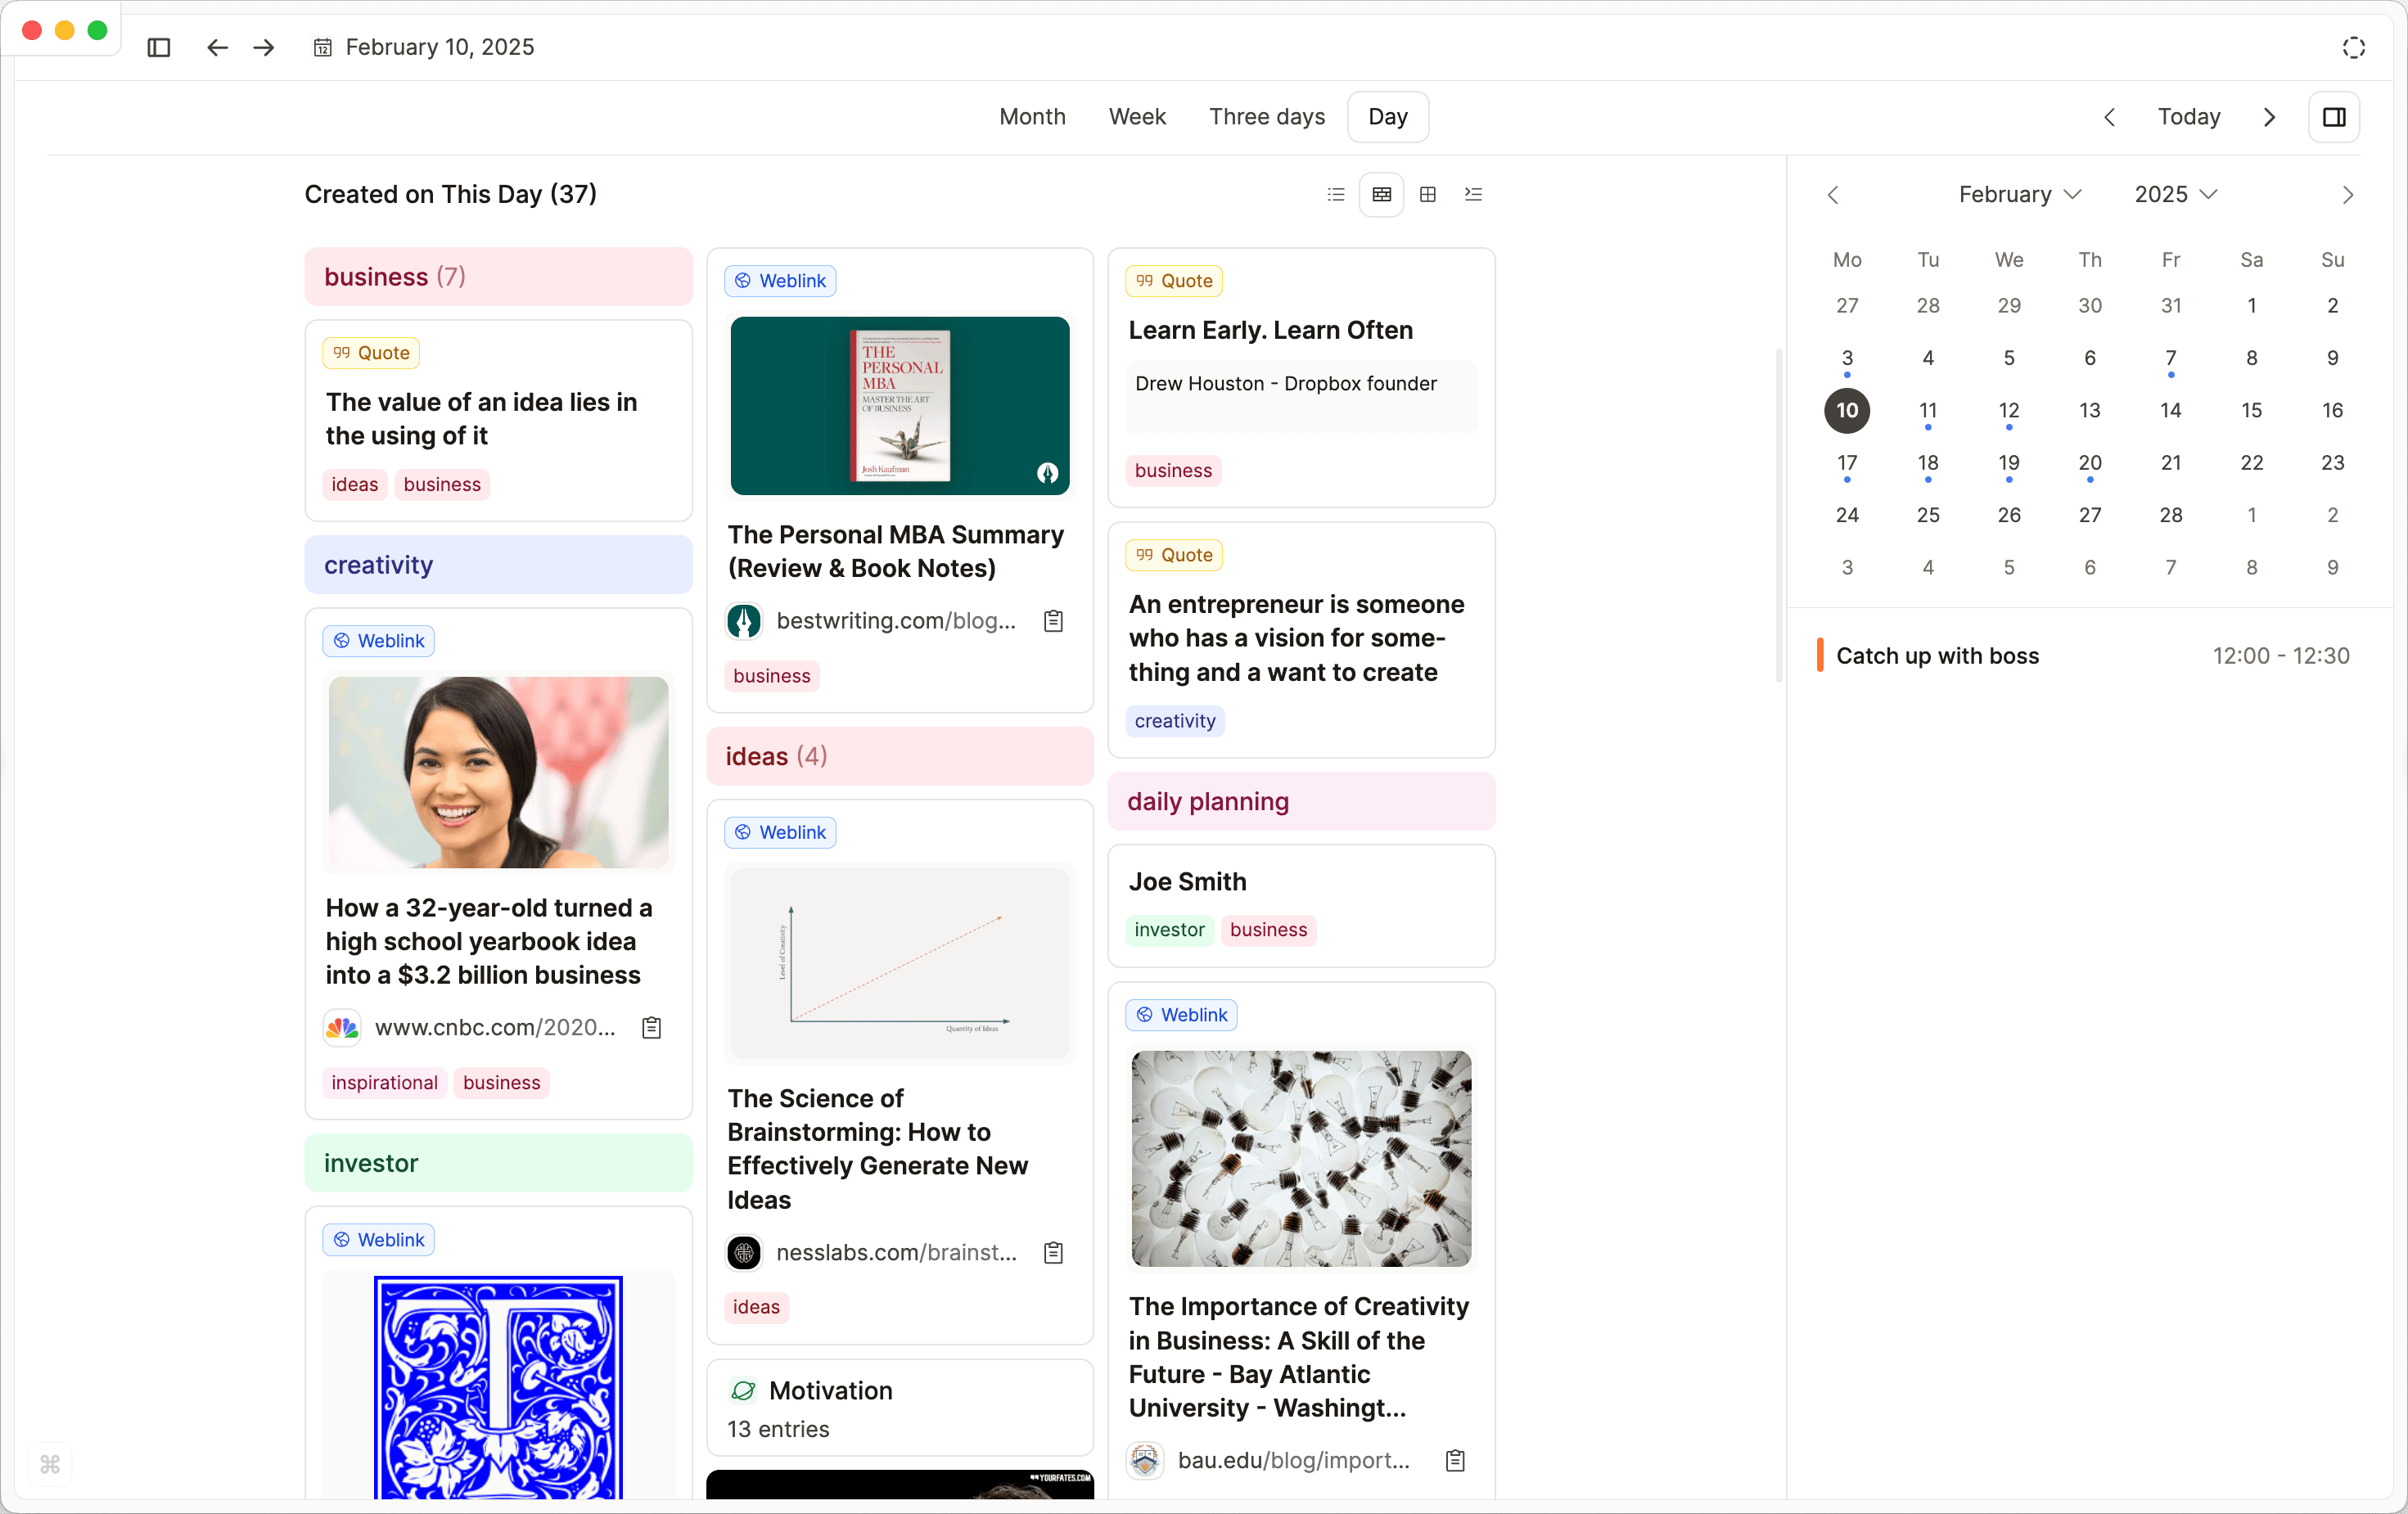
- Chronological overview of your content: Another major bonus of the daily note is the content overview it provides. You always get an overview of what you’ve created on that day (at the bottom of your daily note). This is also great for reviewing a week: just browse through your daily notes and get a visual summary of what you’ve collected and created, and dive back in if you want to revisit something important.
Pages for stand-alone content
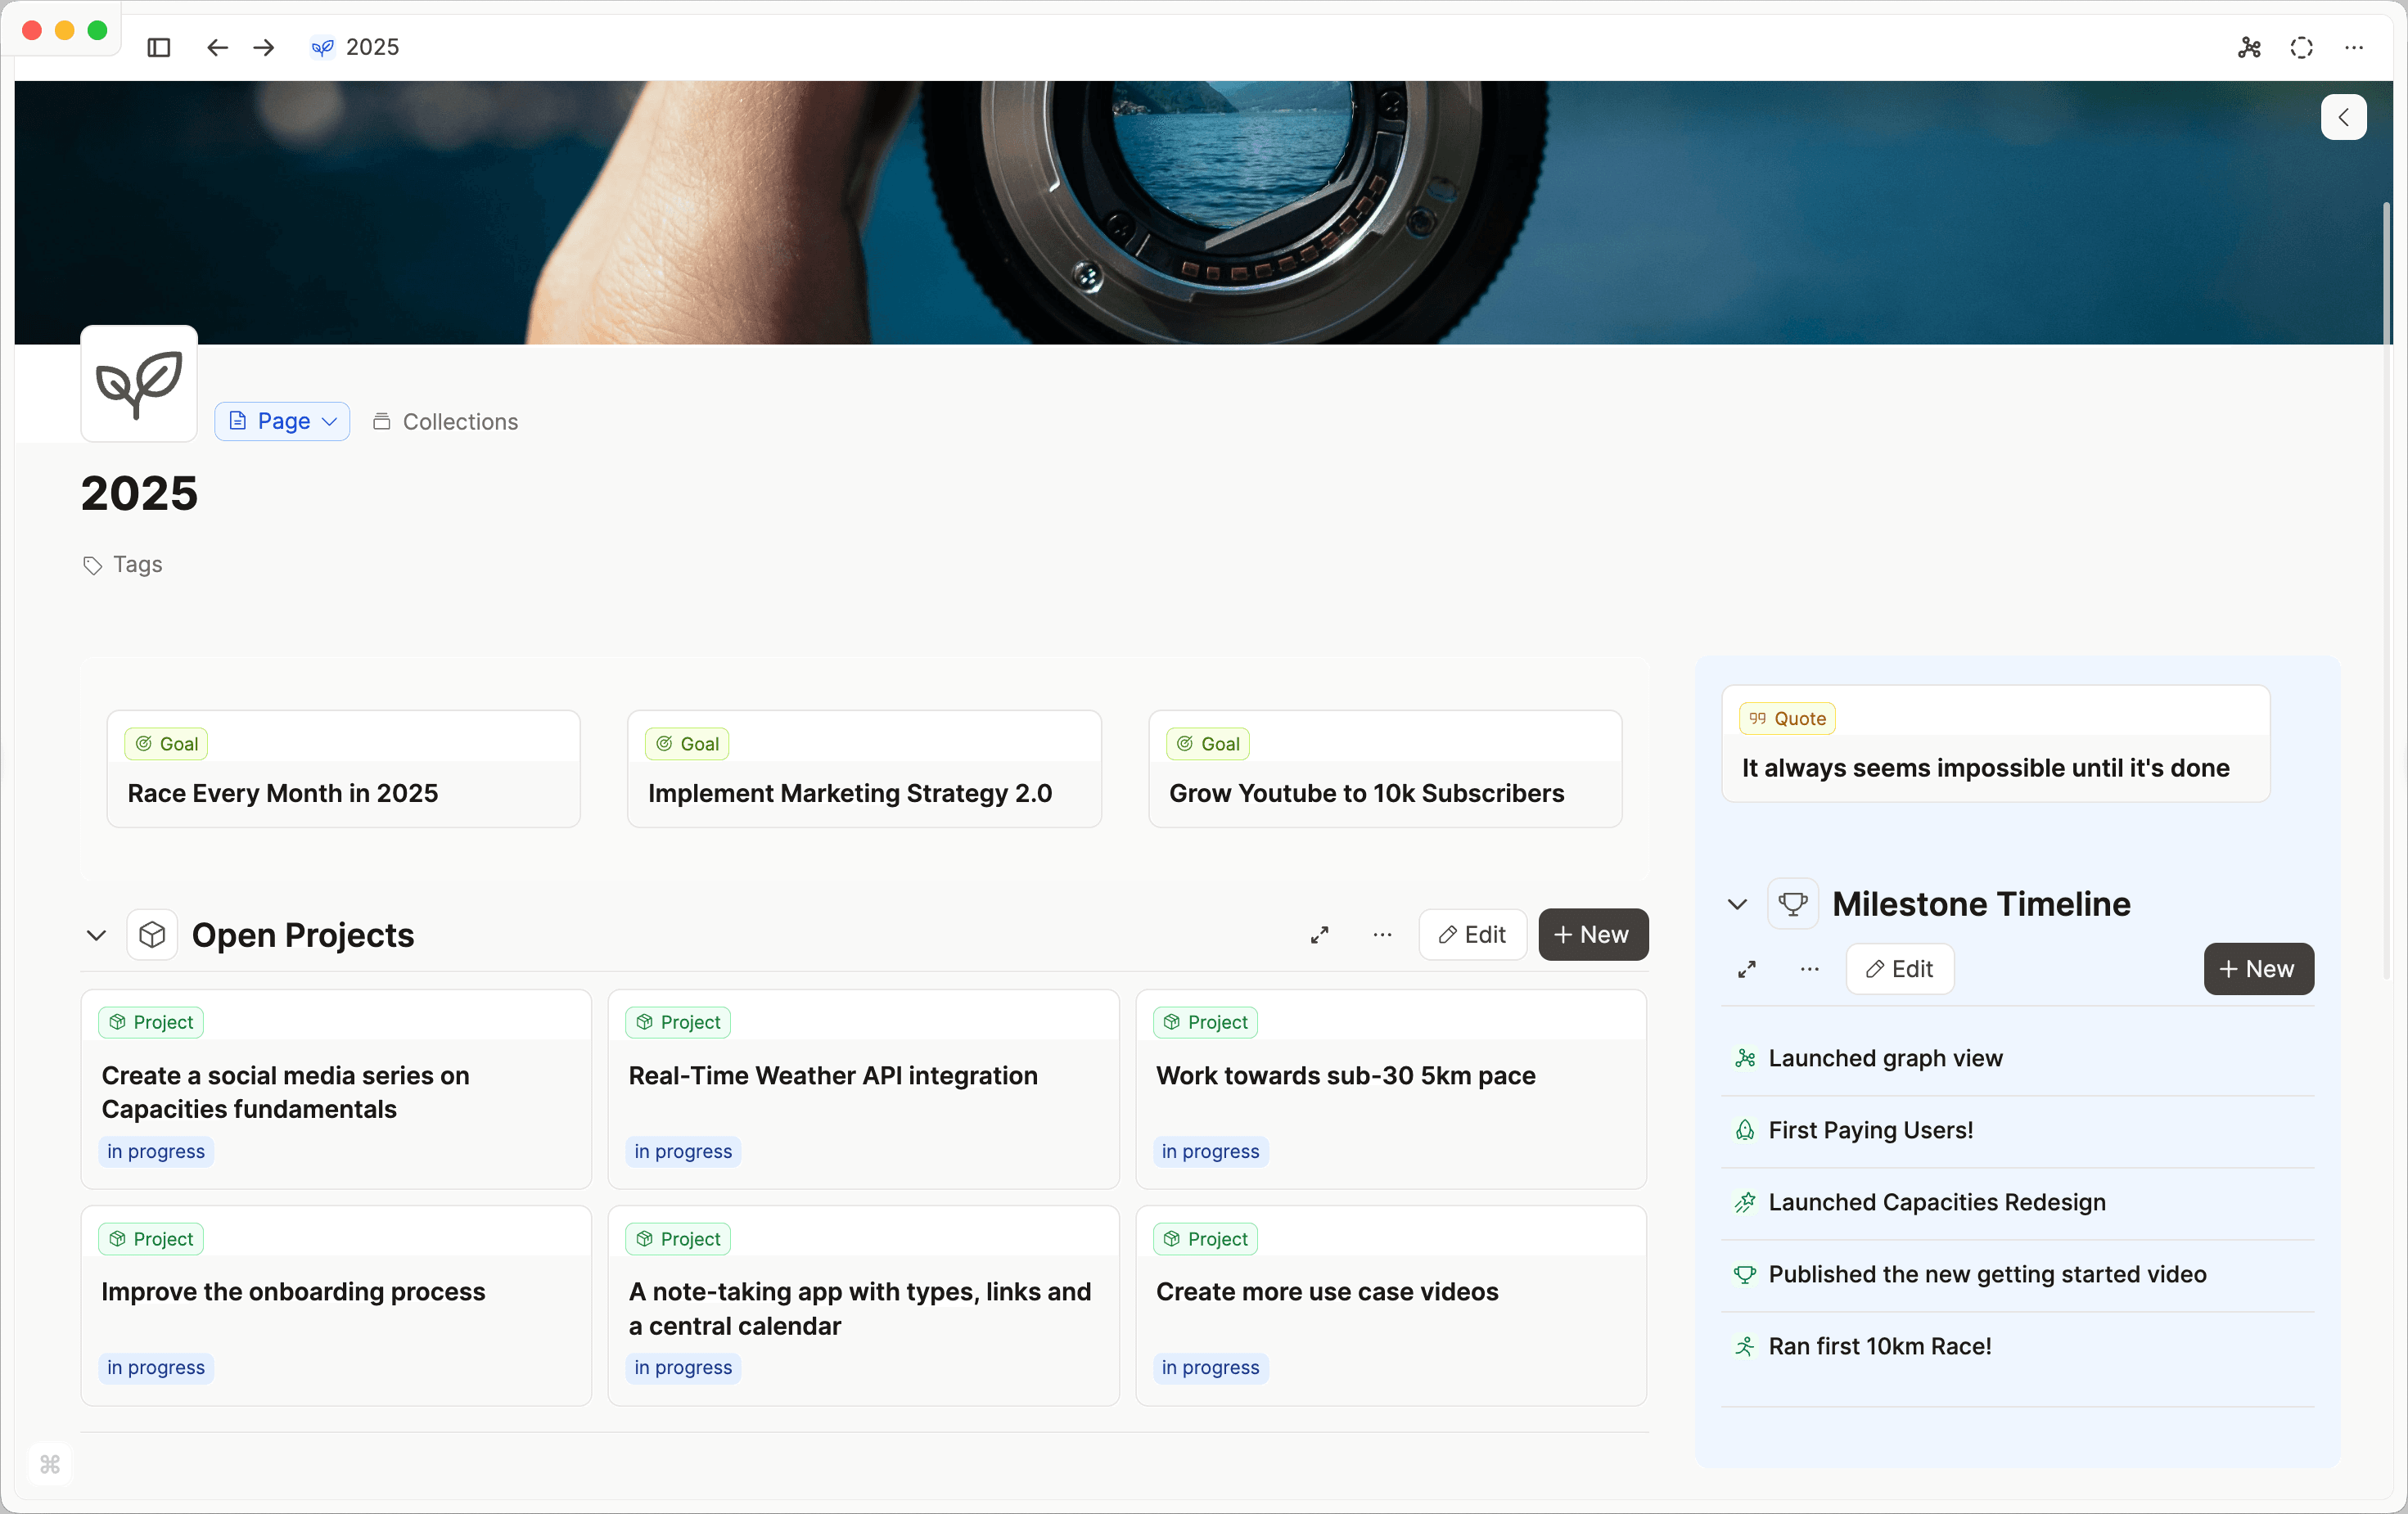
Pages are the type of content for most of your writing. Whenever you have a specific writing task or a topic for which you want to collect and summarize content, create a new page. The following steps can be useful in the writing process.
- Create a meaningful title. Good naming of pages is important. The title is the main identifier and the best way to quickly find any content.
- Create a list of to-dos at the top to define the necessary steps for your writing task (if needed).
- Use bullets or toggles to create an outline. Combine this with headings to create the hierarchy for your content.
- If your writing revolves around media, such as certain graphics or images, or links to relevant sources, add them to the page. You can create new content by typing + or simply find and reuse any content by typing @ anywhere in the text.
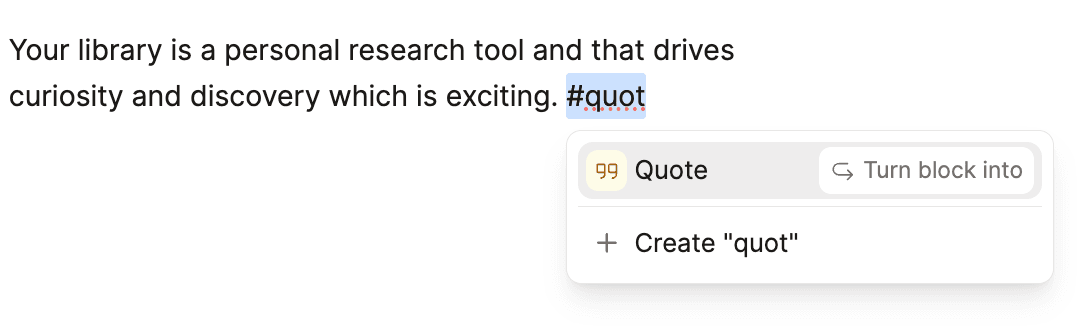
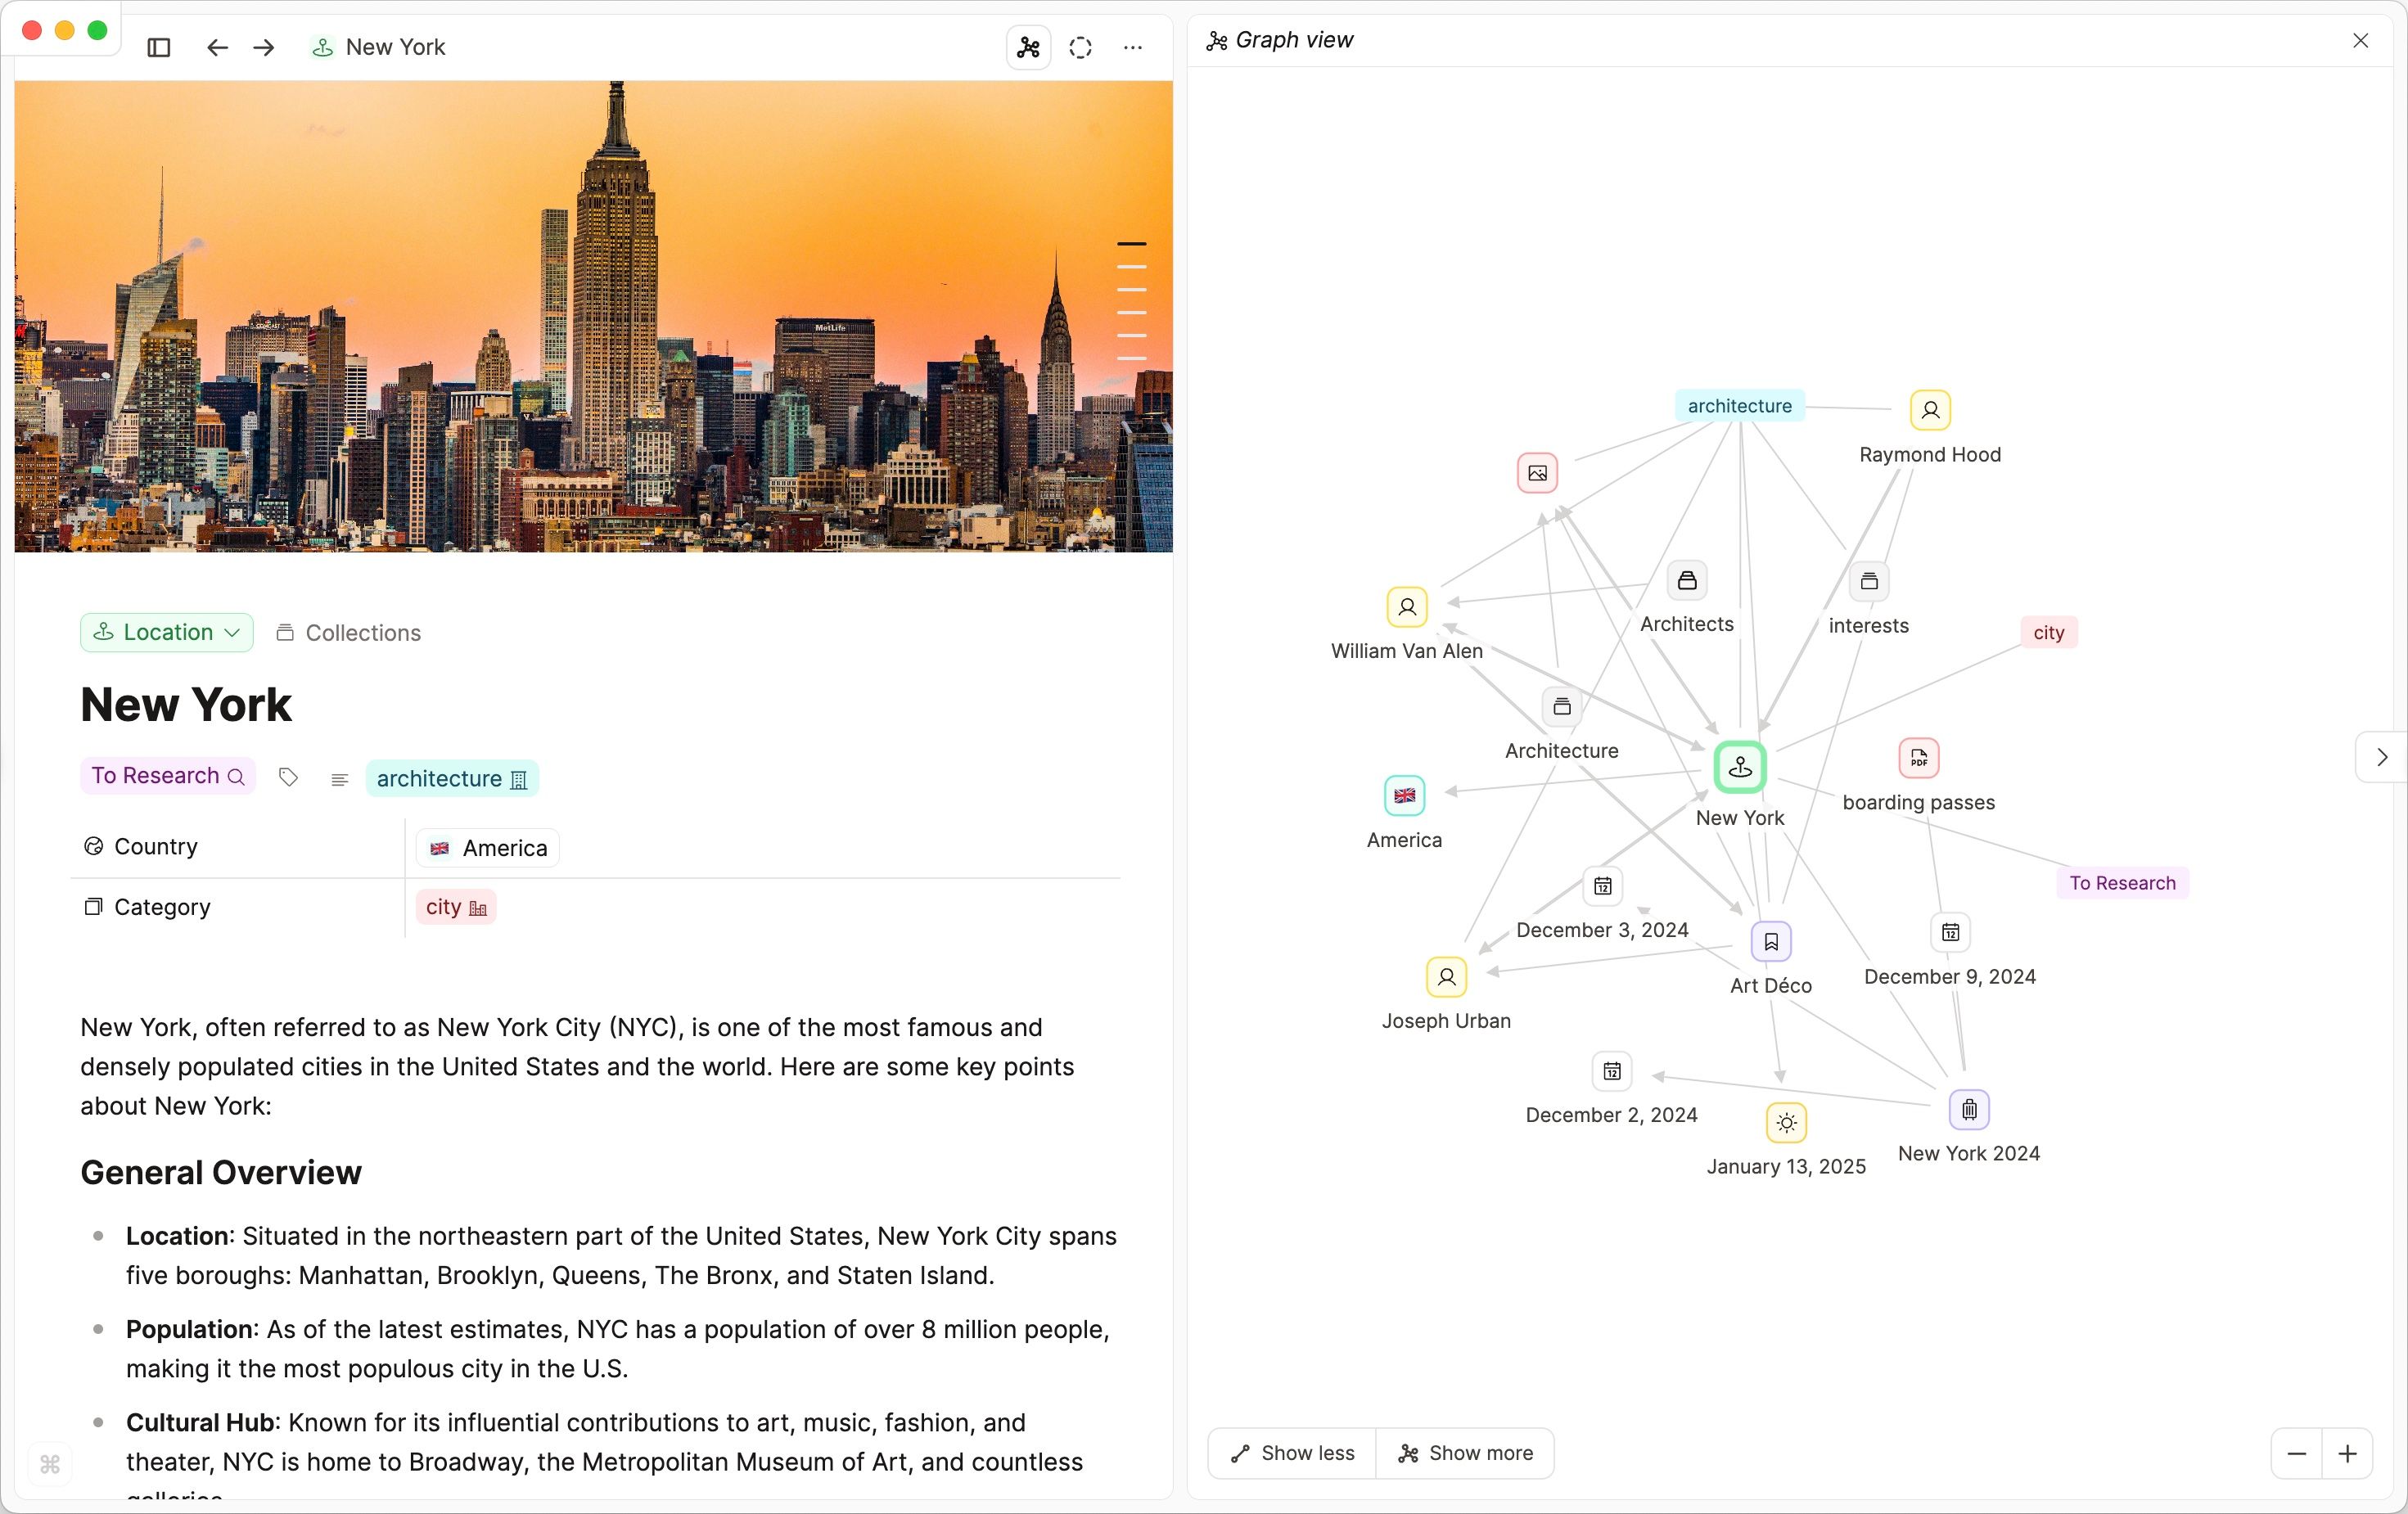
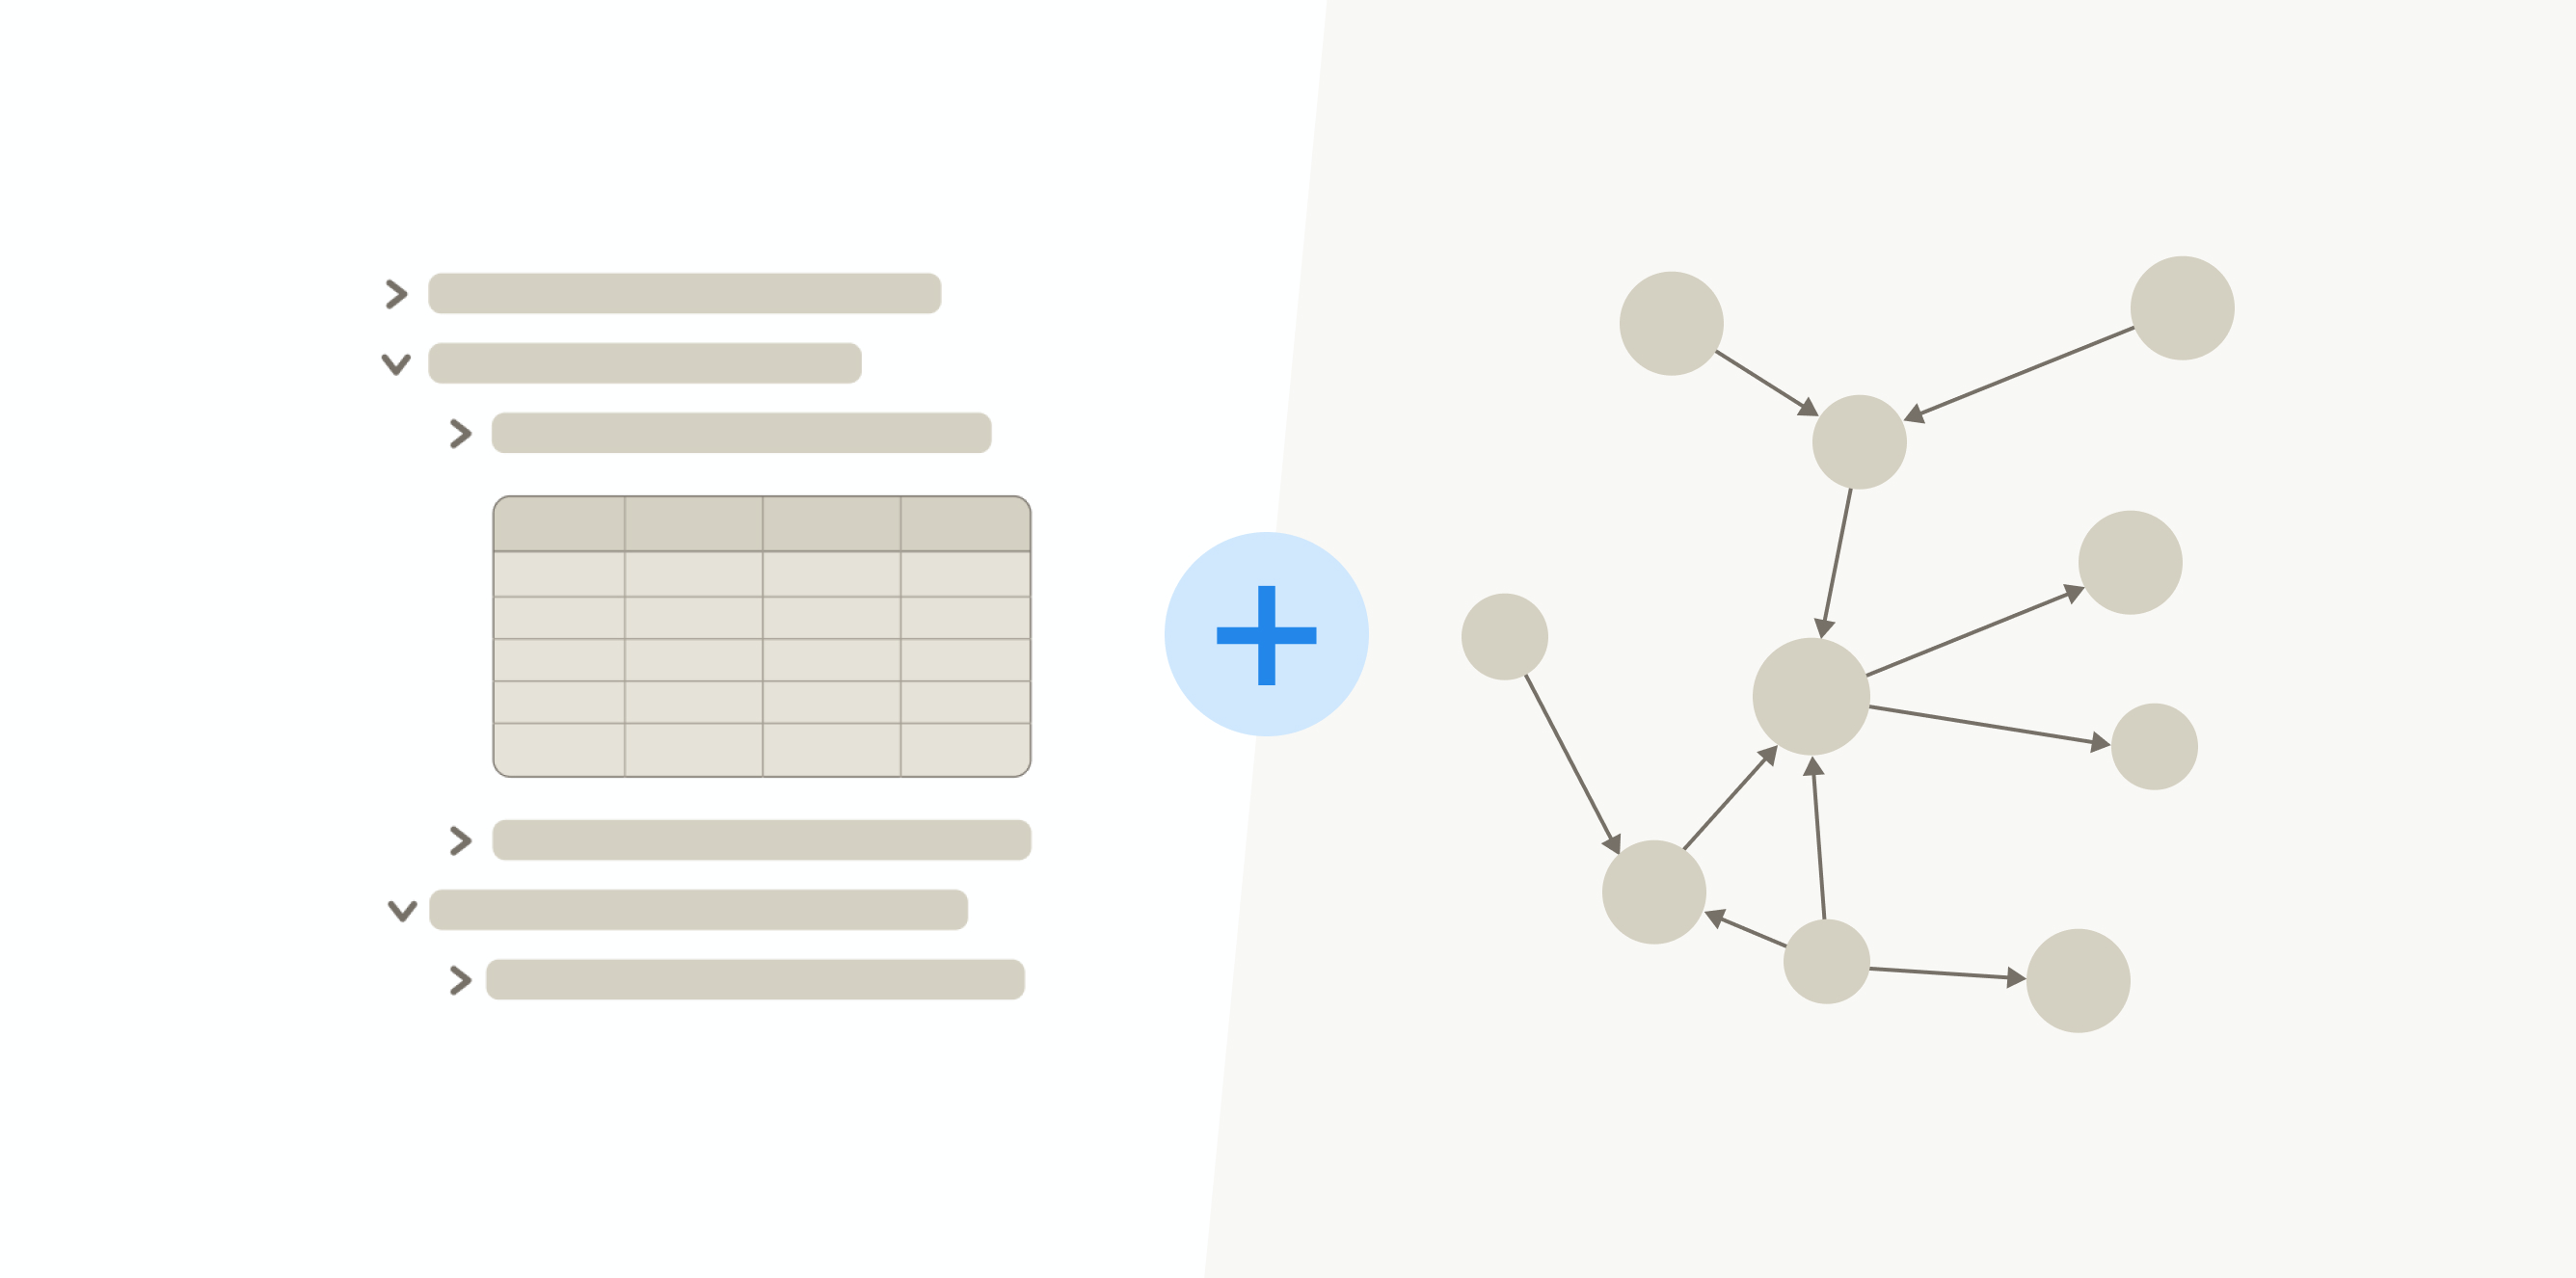
- Now you can start to write your text in full sentences. You could, for example, replace the toggles in your outline step by step with written paragraphs and with the proper headings in between. Inside the text, you can also add tags (use the #-symbol followed by the tag) and of course links to other pages (+ to create a new page, @ to link to an existing page). Those links are bi-directional. This means, they also show up as a backlink on the linked page. You can visually explore those links when you open the graph “overview” in the header bar at the top right.
- And finally, add some top-level tags (If you haven’t already) and add your page to relevant collections. Let’s look into tags more closely in the next section.
Tagging
Tags are a great way to create dossiers of different topics and watch them grow over time. Going through your tags in the future is like hiking through the landscape of your mind.

You can add tags to any type of content and additionally use tags inside any text block. Just hit # and search for existing tags or create a new one. When creating tags try to think about them from the perspective of future retrieval: how do you want to revisit and explore your content again in the future. Try to avoid “dumb” tags that just classify content in a very superficial way and don’t convey meaning. But in the end, it is of course your system and the tags you create can and should be very personal.
One use case where tags are especially useful is for organizing and classifying media.
Curating media
Capacities helps you to collect valuable images, bookmarks, and pdfs. This makes them retrievable for your future self and makes it easy for you to reference them in your notes.
Let’s have a look at two types in particular: images and weblinks.
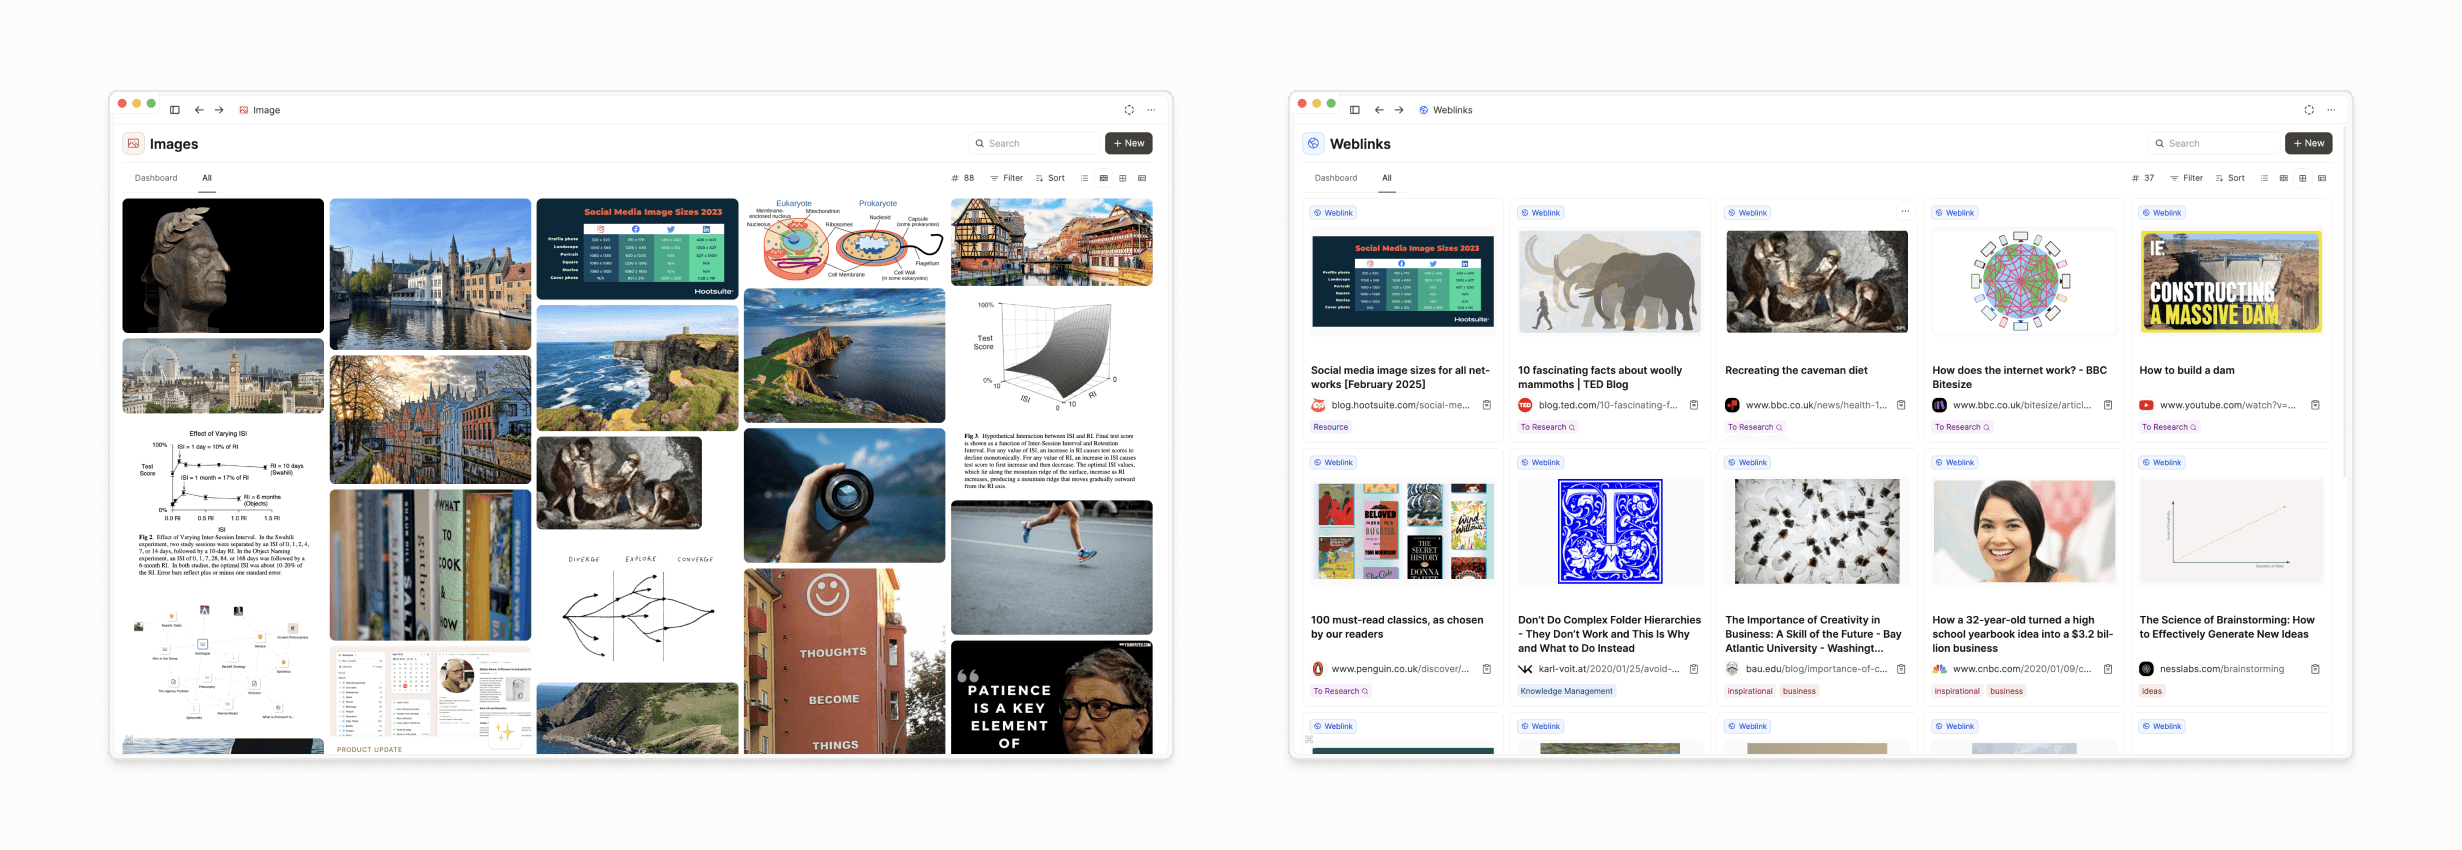
Capacities supports them as first-class citizens. That means they are stored as objects in their corresponding database.
Before I explain how to add each type specifically, here are some general tips for working with media in Capacities.
General best practices for media:
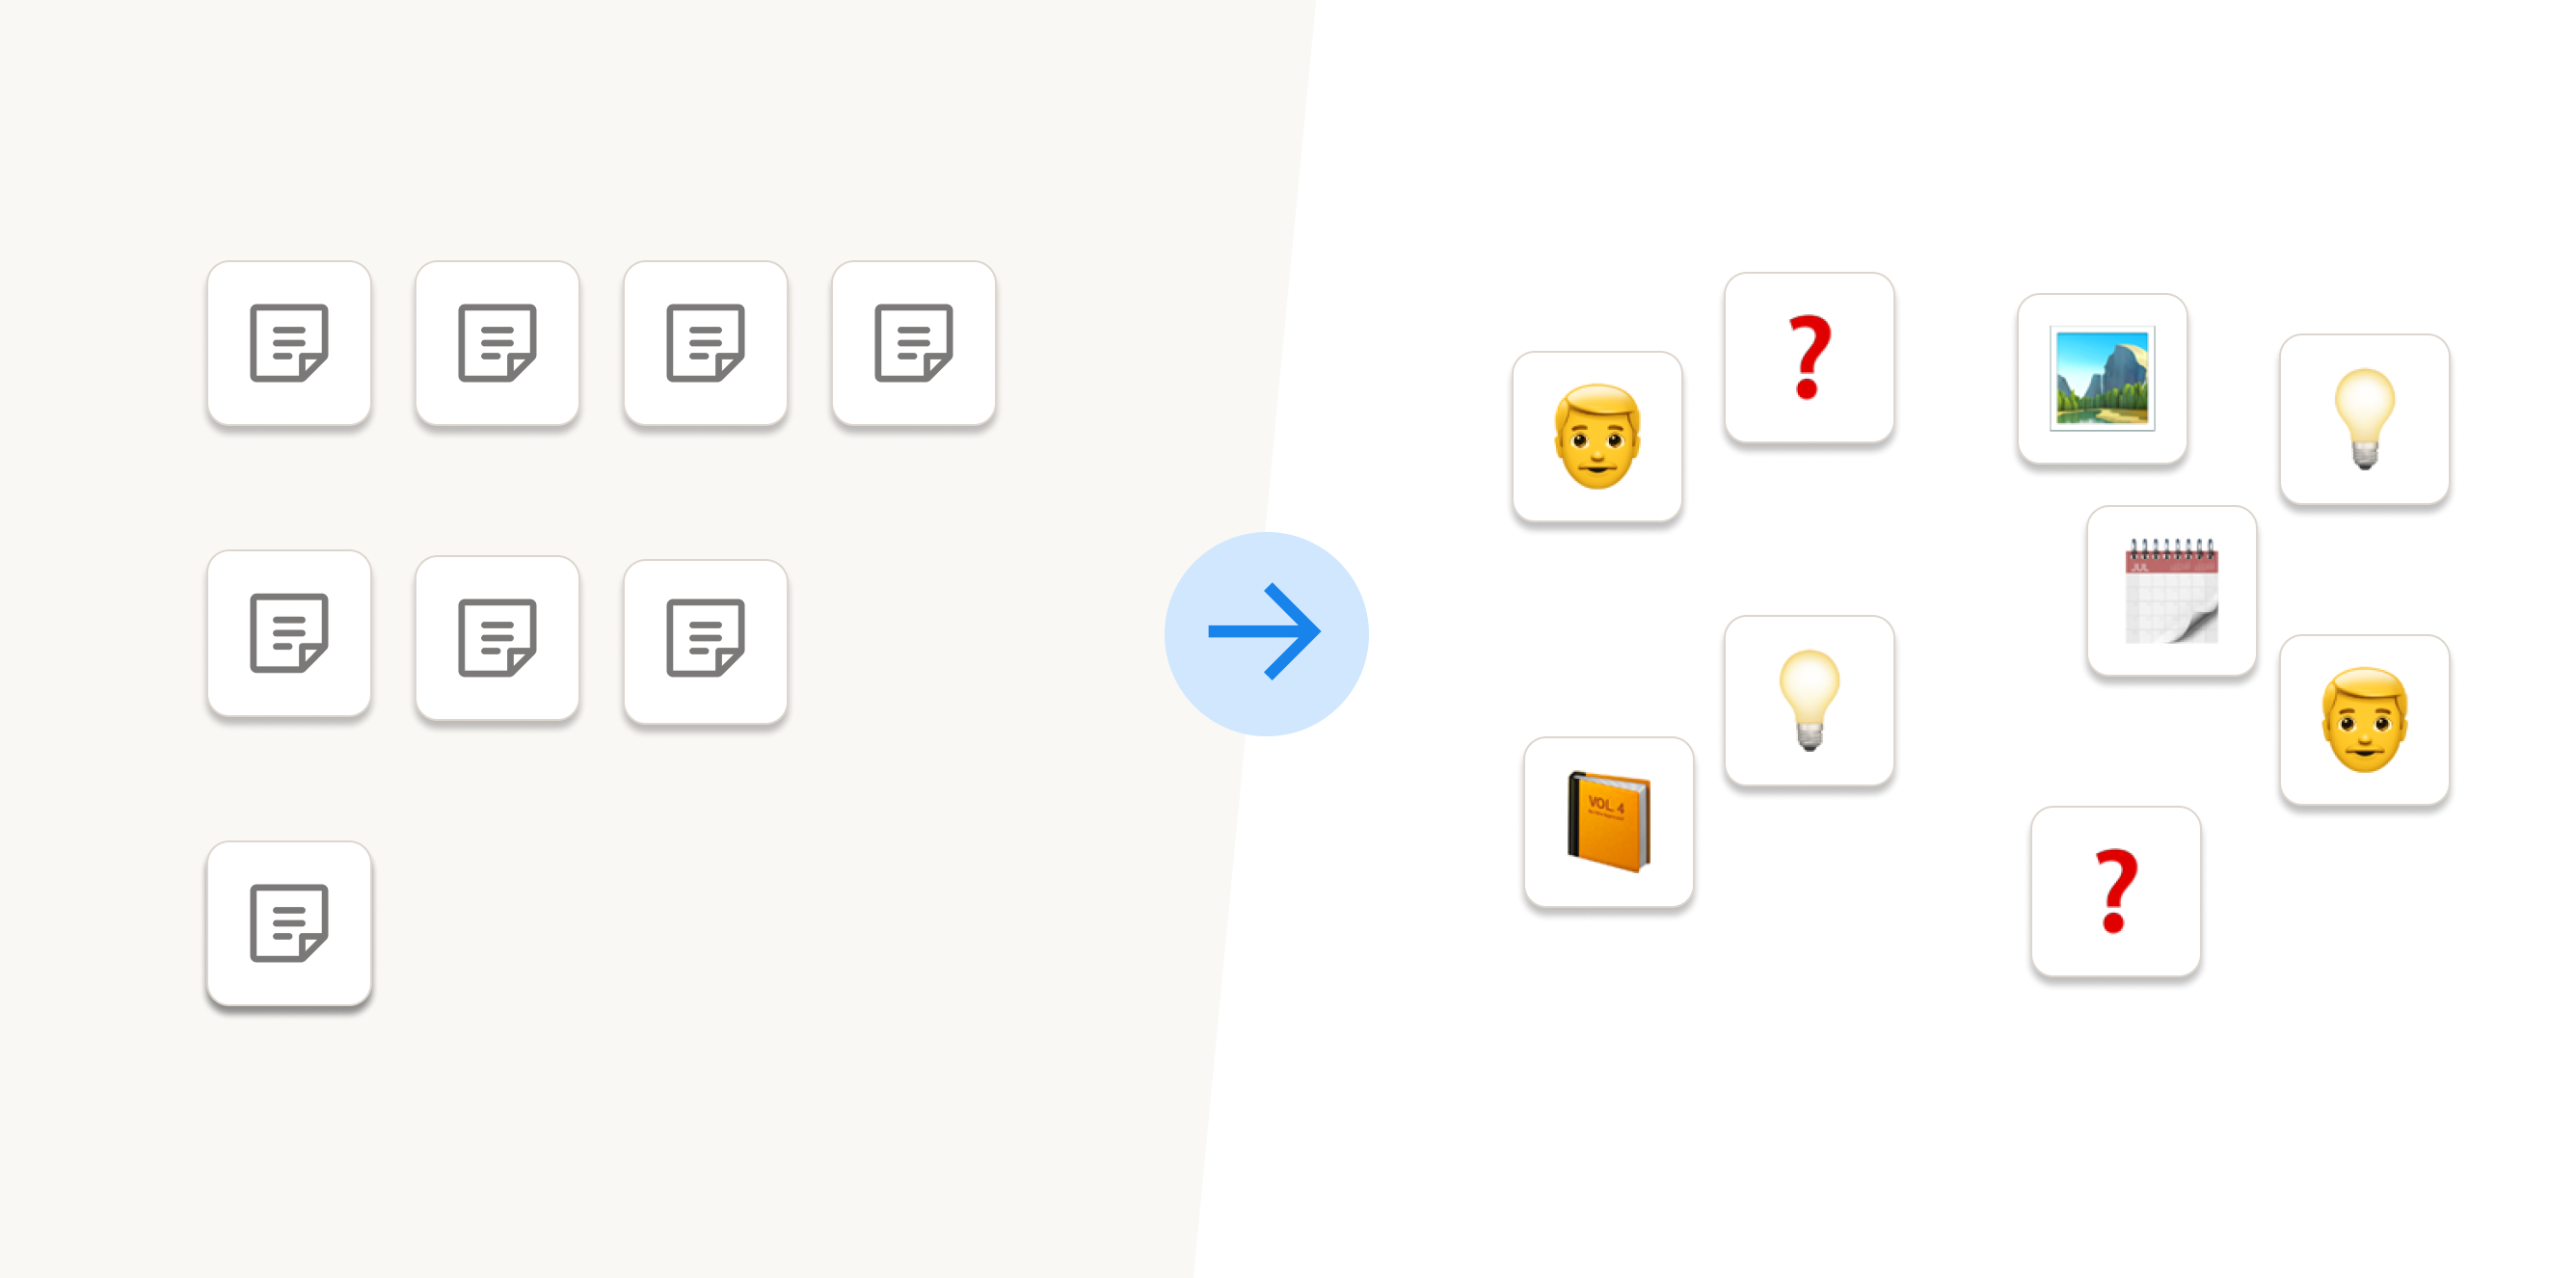
- Give images and files a meaningful title. This is important because the title is a primary key for the search and will make it easier for you to find it. It also shows up in some preview elements for this content. A meaningful title is also a good sign of intentionality and thus a filter for whether you should store something: what does this picture actually show and why should I store it? What will it add to my knowledge? If you don’t care to give something that is relevant a title, it might not be relevant at all.
- Tagging is the most important form of organization for media. It is a bottom-up form of organization where an item can have several tags at a time. Ask yourself the question: In which context is this content relevant? Where do I want to see this again? Then create meaningful tags. When tagging, try to create as few tags as possible, but as many as necessary.
- Write down some notes. We store media because we want it to mean something to us. We want to grow our knowledge and learn. For this to actually reflect inside our brain it is necessary to really have a relationship with that content. In Capacities for every media type, there is a dedicated notes property just below the main content. Use it to write some notes: Why are you storing it? What did you learn from it? What is your relationship with that content? This externalization creates a connection in your brain. It also increases the value of that content when you revisit it in the future.
Now let’s look at the fastest way to collect each type of media in Capacities.
- Collecting images. The fastest way to add an image is to copy it to the clipboard and paste it inside a text block. But you can of course also add an image by using the plus button. Capacities provides an Unsplash integration for some stock photos. Try to give images a title and some tags right after you add them, otherwise, it’s easy to forget. If you want, you can also write down some notes on what you learned from this image.
- Bookmarking: When we browse the web, we often come across interesting websites or articles. It’s a good habit to immediately store such content to find and retrieve it in the future. Just paste the URL of the link in any text block in Capacities, for example in your daily note. Alternatively, you can add a weblink by clicking the green plus button in the left sidebar, selecting “Weblink” in the dropdown, and pasting the link in the text field on the modal that pops up. Capacities automatically retrieves all relevant metadata of that link and adds it to your database of web links.
Use the sidebar for quick access
We already talked about various ways to organize your content, such as with tags or pages that link to other content.
But what if you quickly want to access the content you use most often, such as your most important tags or pages?
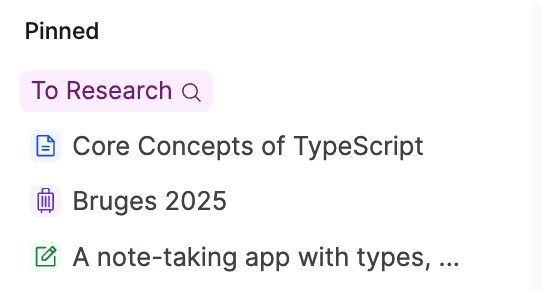
For this purpose Capacities allows you to “pin” any content to the sidebar on the left. Simply navigate to that page and click the pin icon in the header at the top right. Your content will now appear in the “Pinned” section in the left sidebar. There you can also rearrange it just the way you want.
Make your notes useful for your future self
One of the main purposes of collecting media and writing down all your notes is to make them useful for your future self. But how does that actually work?
Well, first we have to look at what useful means and then differentiate between different scenarios.
Quick remark: Before we talk about the benefits in the future it’s important to understand that the mere act of taking notes and thus externalizing your learnings and experiences brings numerous benefits right away. It improves your understanding and increases the probability that you will remember it. The more personal and particular your notes are, the better. So simply taking notes gives you immediate benefits.
A foundation for better and deeper understanding
An external structure – like your notes – is something concrete your future self can work with and it can compound over time. The more there already is, the more associations can be made, and the easier it gets to generate new knowledge.
- Start with revisiting your content regularly. Improve your understanding and your memory by going through your past creations. Try to find new connections and write them down. Also write it down, when you realize that your understanding regarding a specific content has evolved. If necessary, add additional notes with new insights.
- And finally, use it as a source of inspiration. When revisiting content after some time, it will trigger thought processes in your mind and often spark new ideas. Find specific information faster: The second benefit is simply saving time. We all know the feeling when we are trying to remember something or find some resource again. Often that’s blocking us from continuing our work. But since you’ve documented your learnings and collected relevant resources, you can quickly find a specific piece of information again through tags and search.
Be more productive in the areas you take notes on
The last benefit is the most valuable one: boosting your productivity in your creative endeavors. Imagine the situation when you have to write an article on a specific subject. For many people, this means starting long and intense research to generate ideas to write about. This step is often overlooked and not accounted for. But it’s probably more than 50% of the work.
- Instead, make use of the ideas you have already had. Every object in your knowledge graph is a piece of information you have already processed, one that you own in some way. And this asset is growing every day.
- You will appreciate this when you experience it yourself for the first time. This is what this process could look like:
- When you have a concrete idea to write about browse through corresponding tags, daily notes, collections, and databases and look for relevant material.
- A quick way to collect material is by creating a dedicated tag for this specific project. Simply tag any relevant content you encounter with that tag and find a neatly organized dossier when you open this tag.
- The next step is to synthesize that content into an outline on a new page. You could follow the approach described in detail in the section on pages above:
- Create an outline of ideas you want to cover using toggles.
- Create hierarchy by indenting subordinate aspects.
- Arrange media you want to make use of.
- Write in full sentences.
- Link to related ideas.
- Use tags for future retrieval.
If you go all-in with this approach, you will hesitate to start any new project where you don’t have enough material yet. It is much faster to produce outputs with a solid knowledge base already in place. You will realize that constantly working on your knowledge base day to day is well worth it.
And to sum it up, here is an overview of fast and efficient ways to search and review content in Capacities.
📃 Ways of searching and reviewing content
- Search via title
- Search for specific tags or collections
- Using daily notes to review content chronologically
- Choose the type layout (grid, wall, table, list) which fits you best and allows you to skim through content the fastest
- Browse through databases
- use database search, filters, and sort
- Revisit collections
- Browse through tags (via tags database) - use filters and sort
Share your knowledge
Over time you will accumulate more and more relevant content. What you have created is very valuable, not only to you. Share what you’ve created with others.
If you maintained a good structure, it will come as a breeze for you to quickly generate collections of useful resources in different scenarios and on different topics. Sharing this with other people will impress them and you can share your value with others. In addition, you can get feedback on what you work on and improve your knowledge base from that.
This guide only scratched the surface of PKM. If you want to dive even deeper, we’ve put together an overview of useful resources and links below. This should give you an idea of the main strategies of PKM.
Overview of some PKM strategies
Zettelkasten (slipbox)
The Zettelkasten method (slip box method) is one of the most prominent strategies for productive note-taking, especially in academic circles. It was developed by the German sociologist Niklas Luhmann. If you are interested there is a great introductory book by Sönke Ahrens: “How to Take Smart Notes: One Simple Technique to Boost Writing, Learning, and Thinking - for Students, Academics, and Nonfiction Book Writers". A similar concept is atomic notes. The idea behind this is that one note should just hold one idea that stands for itself. This structure incentivizes reuse and meaningful relationships between notes. The concepts are similar in the way that most Zettel in a Zettelkasten should be more or less atomic.
Getting things done (GTD)
Getting things done is a method developed by David Allen in his book “Getting Things Done: The Art of Stress-Free Productivity”. The fundamental insight is to free our minds by writing down everything we have to do and then tackle those things one at a time.
Building a Second Brain methodology
While the Second Brain metaphor is used in various contexts (as well as by ourselves), the specific methodology of Building a Second Brain was coined by Tiago Forte:
Building A Second Brain is a methodology for saving and systematically reminding us of the ideas, inspirations, insights, and connections we’ve gained through our experience. It expands our memory and our intellect using the modern tools of technology and networks.
Building a Second Brain: An Overview - Forte Labs
And here is a great introductory Podcast by Tiago Forte together with David Perell:
Maps of Content (MOC)
Maps of Content is another useful method for PKM.
R. Scott Jones defines them as follows:
A map of content (MOC) is a curated list of links, somewhat akin to a table of contents, that pulls together notes related to a topic.
MOCs are an alternative way to organize information that provides the flexibility of tags along with a less-rigid hierarchy of folders.
Read more here:
Nick Milo is popularizing the concept of MOCs with his workshop Linking Your Thinking.
Other useful resources
- Ness Labs is a wonderful publication revolving around mindful productivity, learning, and thinking. Have a look at the best articles from Ness Labs.
- FAST Writing - David Perell
An interesting approach to writing compatible with the concepts outlined in this guide, summarized below.
This note is about an approach to writing that integrates better into our daily lives.
We are normally taught the SLOW approach of writing. This means starting with a concrete goal, followed by a lot of listening and observing (research), and then finally writing the text. This approach takes a lot of time–a luxury most of us can't afford.
FAST writing flips this around. We integrate the research into our daily lives by constantly collecting great ideas and interesting resources right when we encounter them. This systematic note-taking provides us with the material to assemble pieces of content when starting the actual task of writing. The next step is to speak about this assembled content. Why? Speaking comes more naturally and is faster than writing. Writing takes a lot of energy. Just thinking is not enough because it doesn't force us to articulate new ideas. The last step is to teach by writing to an online audience. This adds a social dimension to your writing–you can deliver value to other people. You also get an opportunity to receive feedback. Overall, FAST writing makes writing part of your daily life and is much easier to maintain.

Related articles
How to create the knowledge base for your life
By combining two approaches from personal knowledge management we can create a powerful second brain.
Not all notes are created equal
We don't have to think in faceless pages, create notes that resembles your thinking instead.
A second brain
In this post we describe what a second brain is, its purpose, and the challenges in building one.
Ready to organize your mind?
Join thousands of thinkers who use Capacities to capture and connect their ideas.